...
Add editable checklist UI to create template pageStatus colour Green title NEW
Filtering by Assignee on the Assigned items pageStatus colour Green title NEW
Add hide completed items filter on the Assigned items pageStatus colour Green title NEW
Add date by typing "//"Status colour Green title NEW
Add emojis by ":"Status colour Green title NEW
ImproveStatus colour Purple title Improved My assigned itemslist UI
Selected item via Drag-and-drop is visible behind the other items in the new editable checklistStatus colour Yellow title FIXED
User without edit permissions cannot edit items in Checklist UI EditorStatus colour Yellow title FIXED
Add a link to formatting guide to the editable checklist UI "Editor" tabStatus colour Yellow title FIXED
Assignees are visible as raw text (ID) in details for Smart Checklist HistoryStatus colour Yellow title FIXED
Details
Add editable checklist UI to create template page
| Status | ||||
|---|---|---|---|---|
|
Create template and add checklist items faster by using Smart Checklist component.
How to use the feature
Navigate to Templates Settings:
From Project: Project Settings → Apps → Smart Checklist Free / Pro → Templates
From Issue View: "…" → Manage Templates
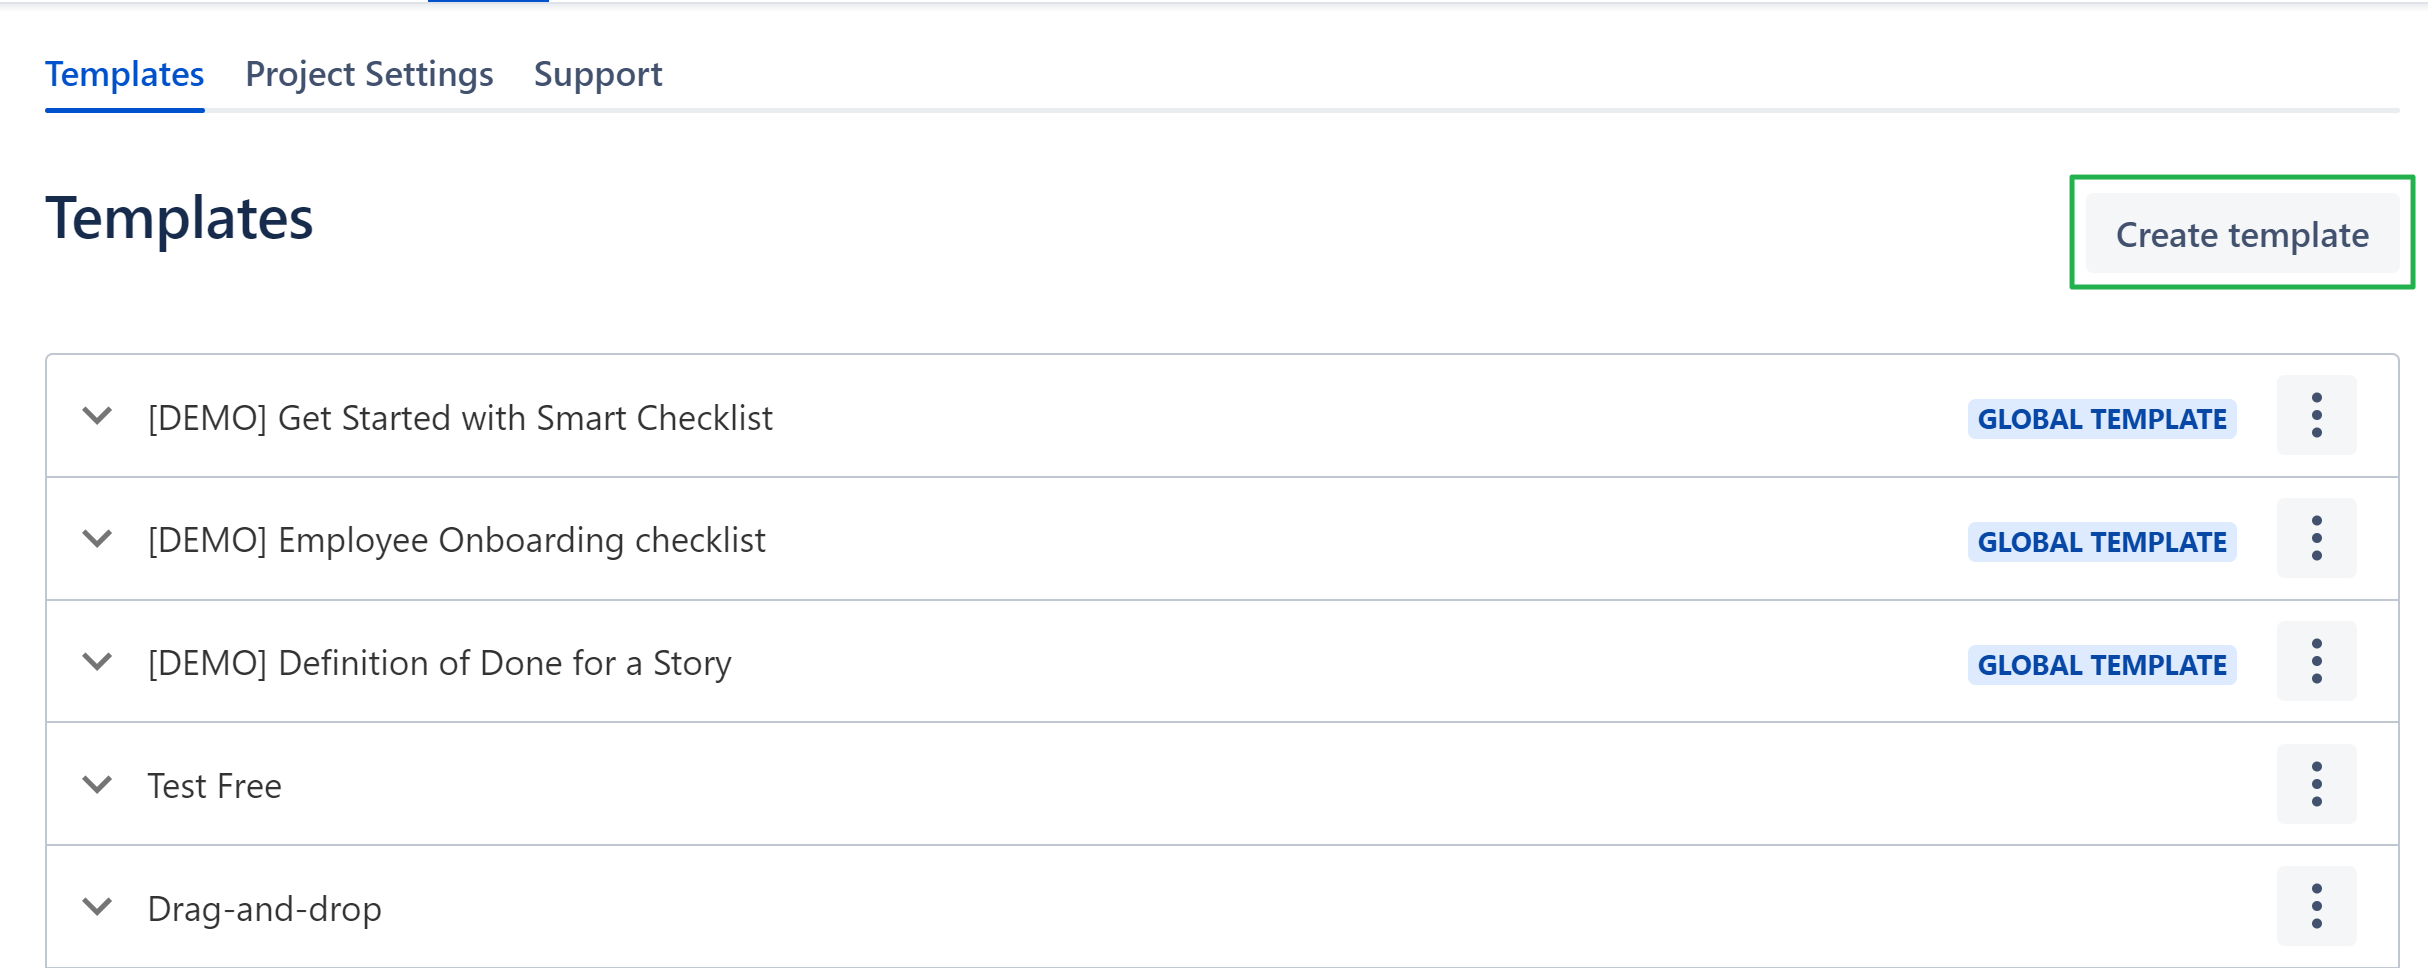
Click [Create template].
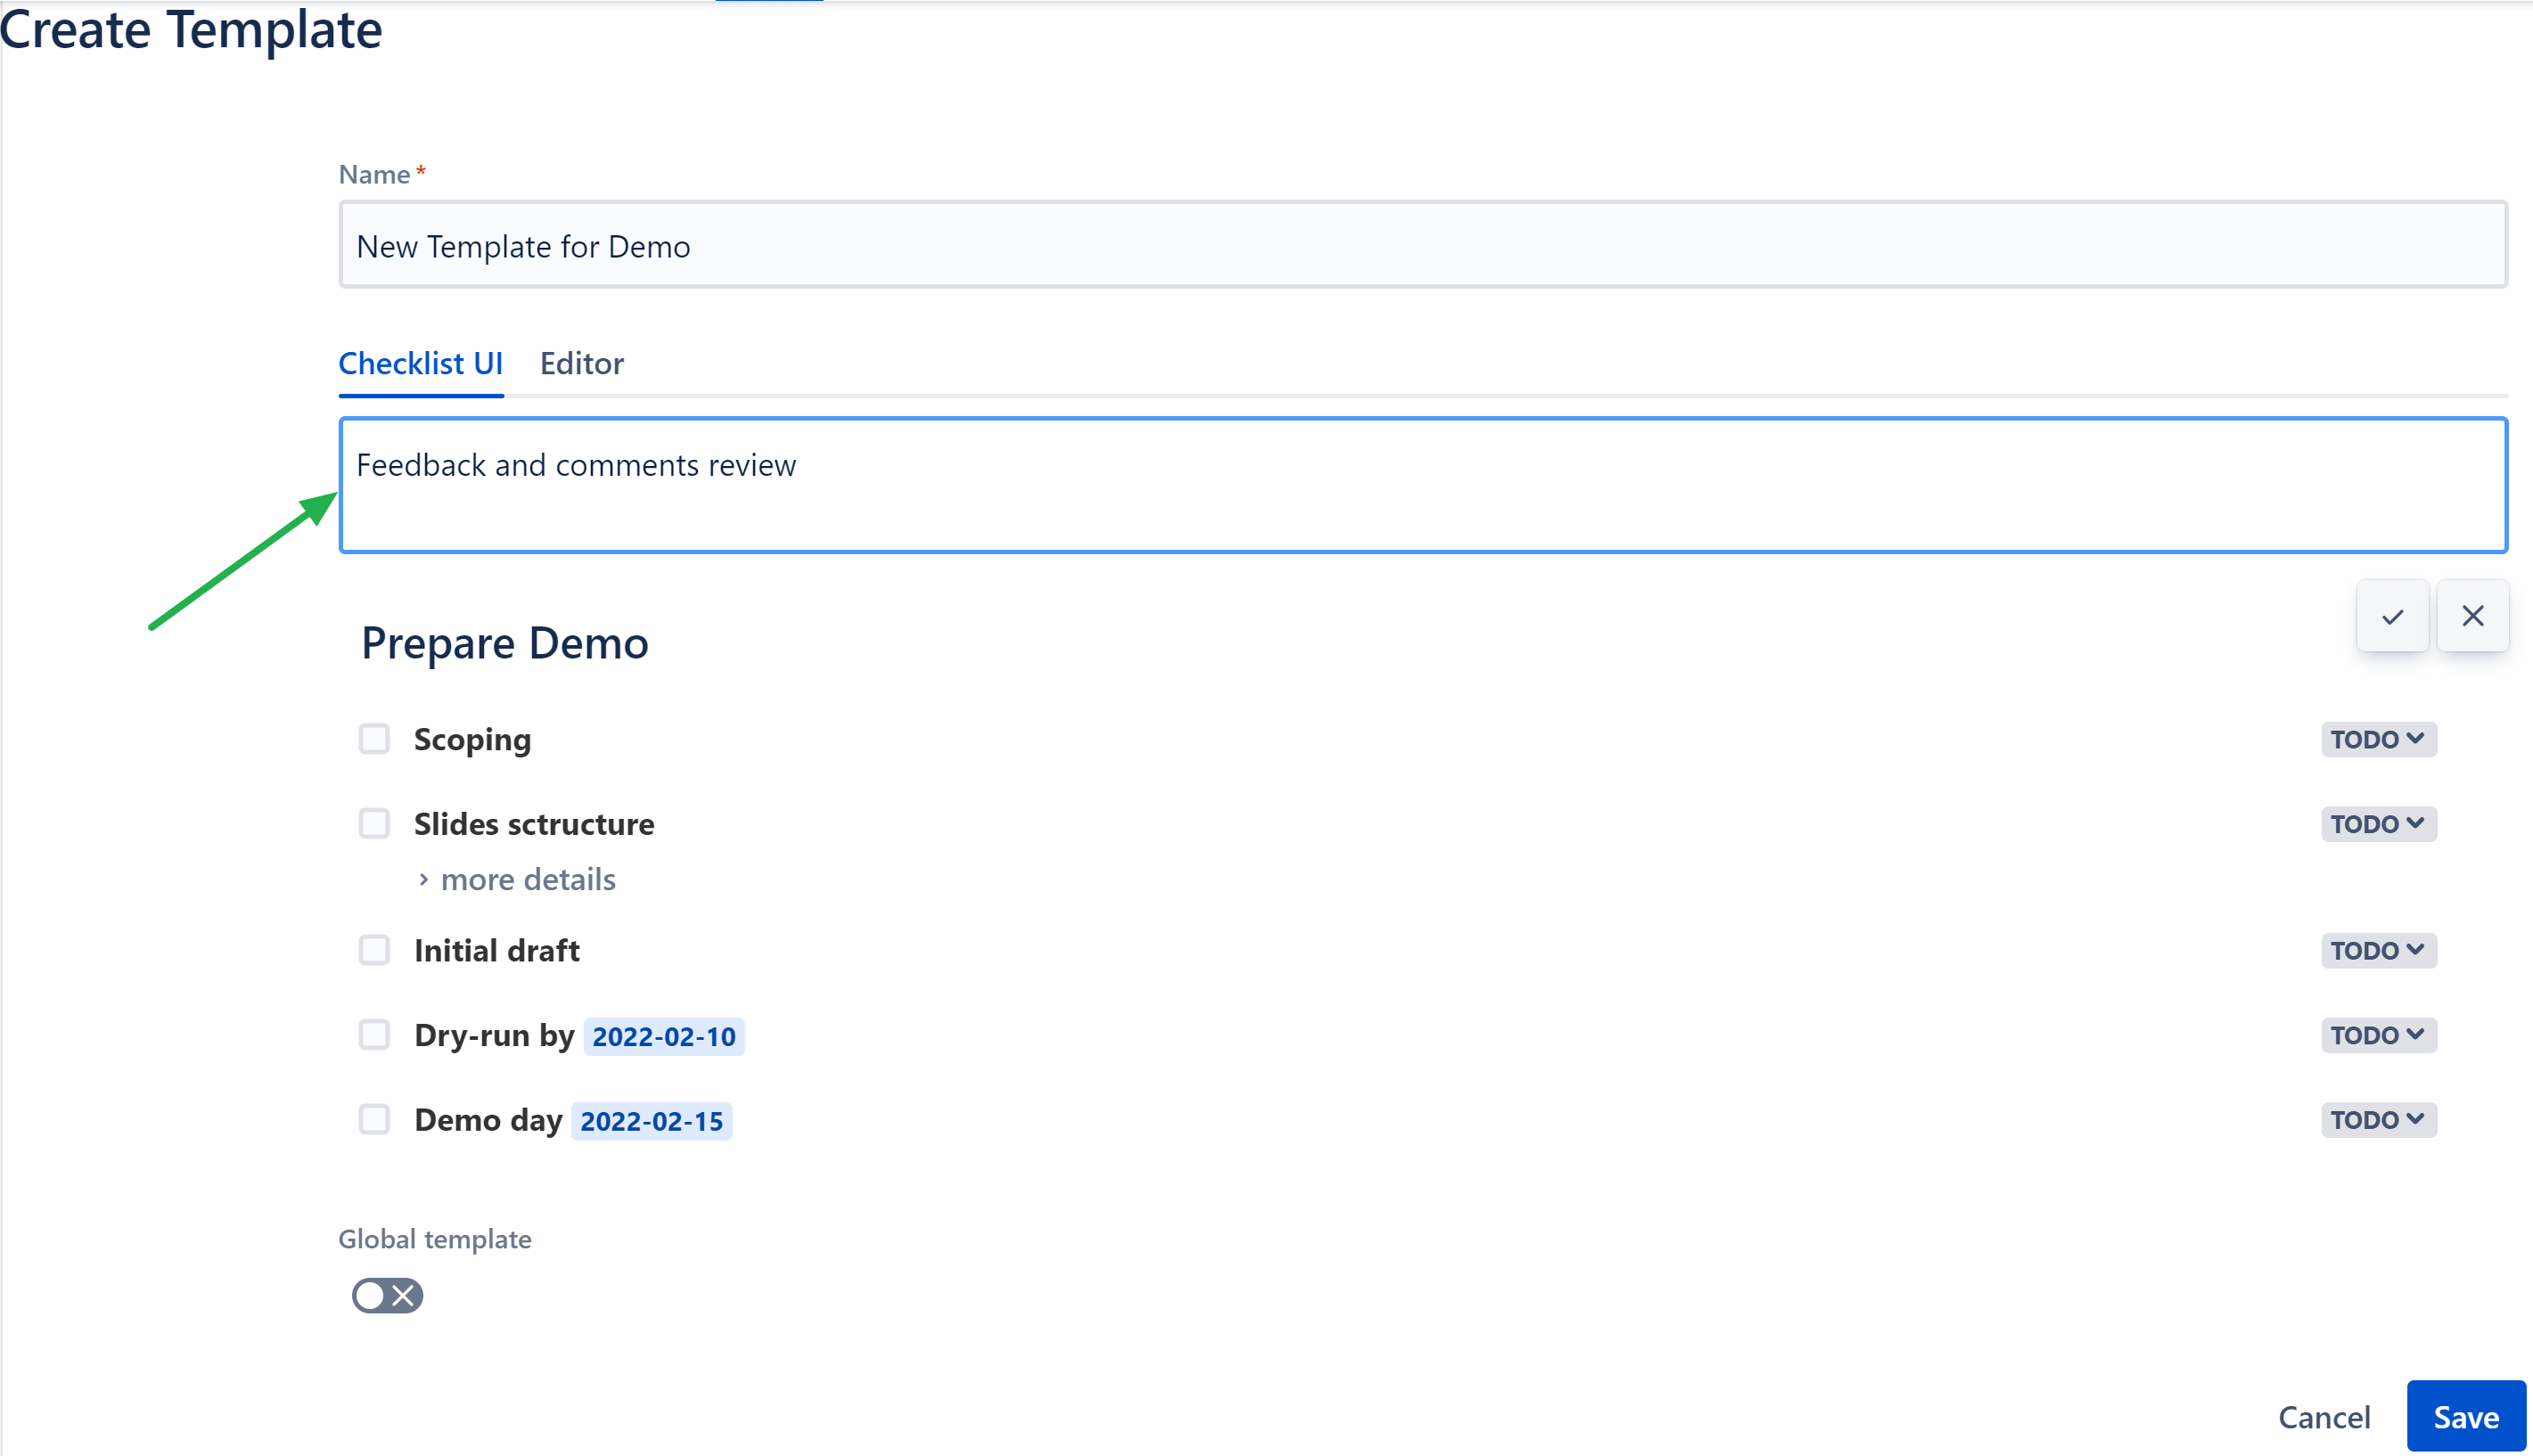
Specify Name of a template and add Checklist Items using <Checklist UI> tab. All basic features are similar to the Issue View:
Change order of items by dragging them up/down.
Edit, check/uncheck, change status.
Add details to items.
Delete items.
Use <Editor> tab for raw text veiw and additional formatting:
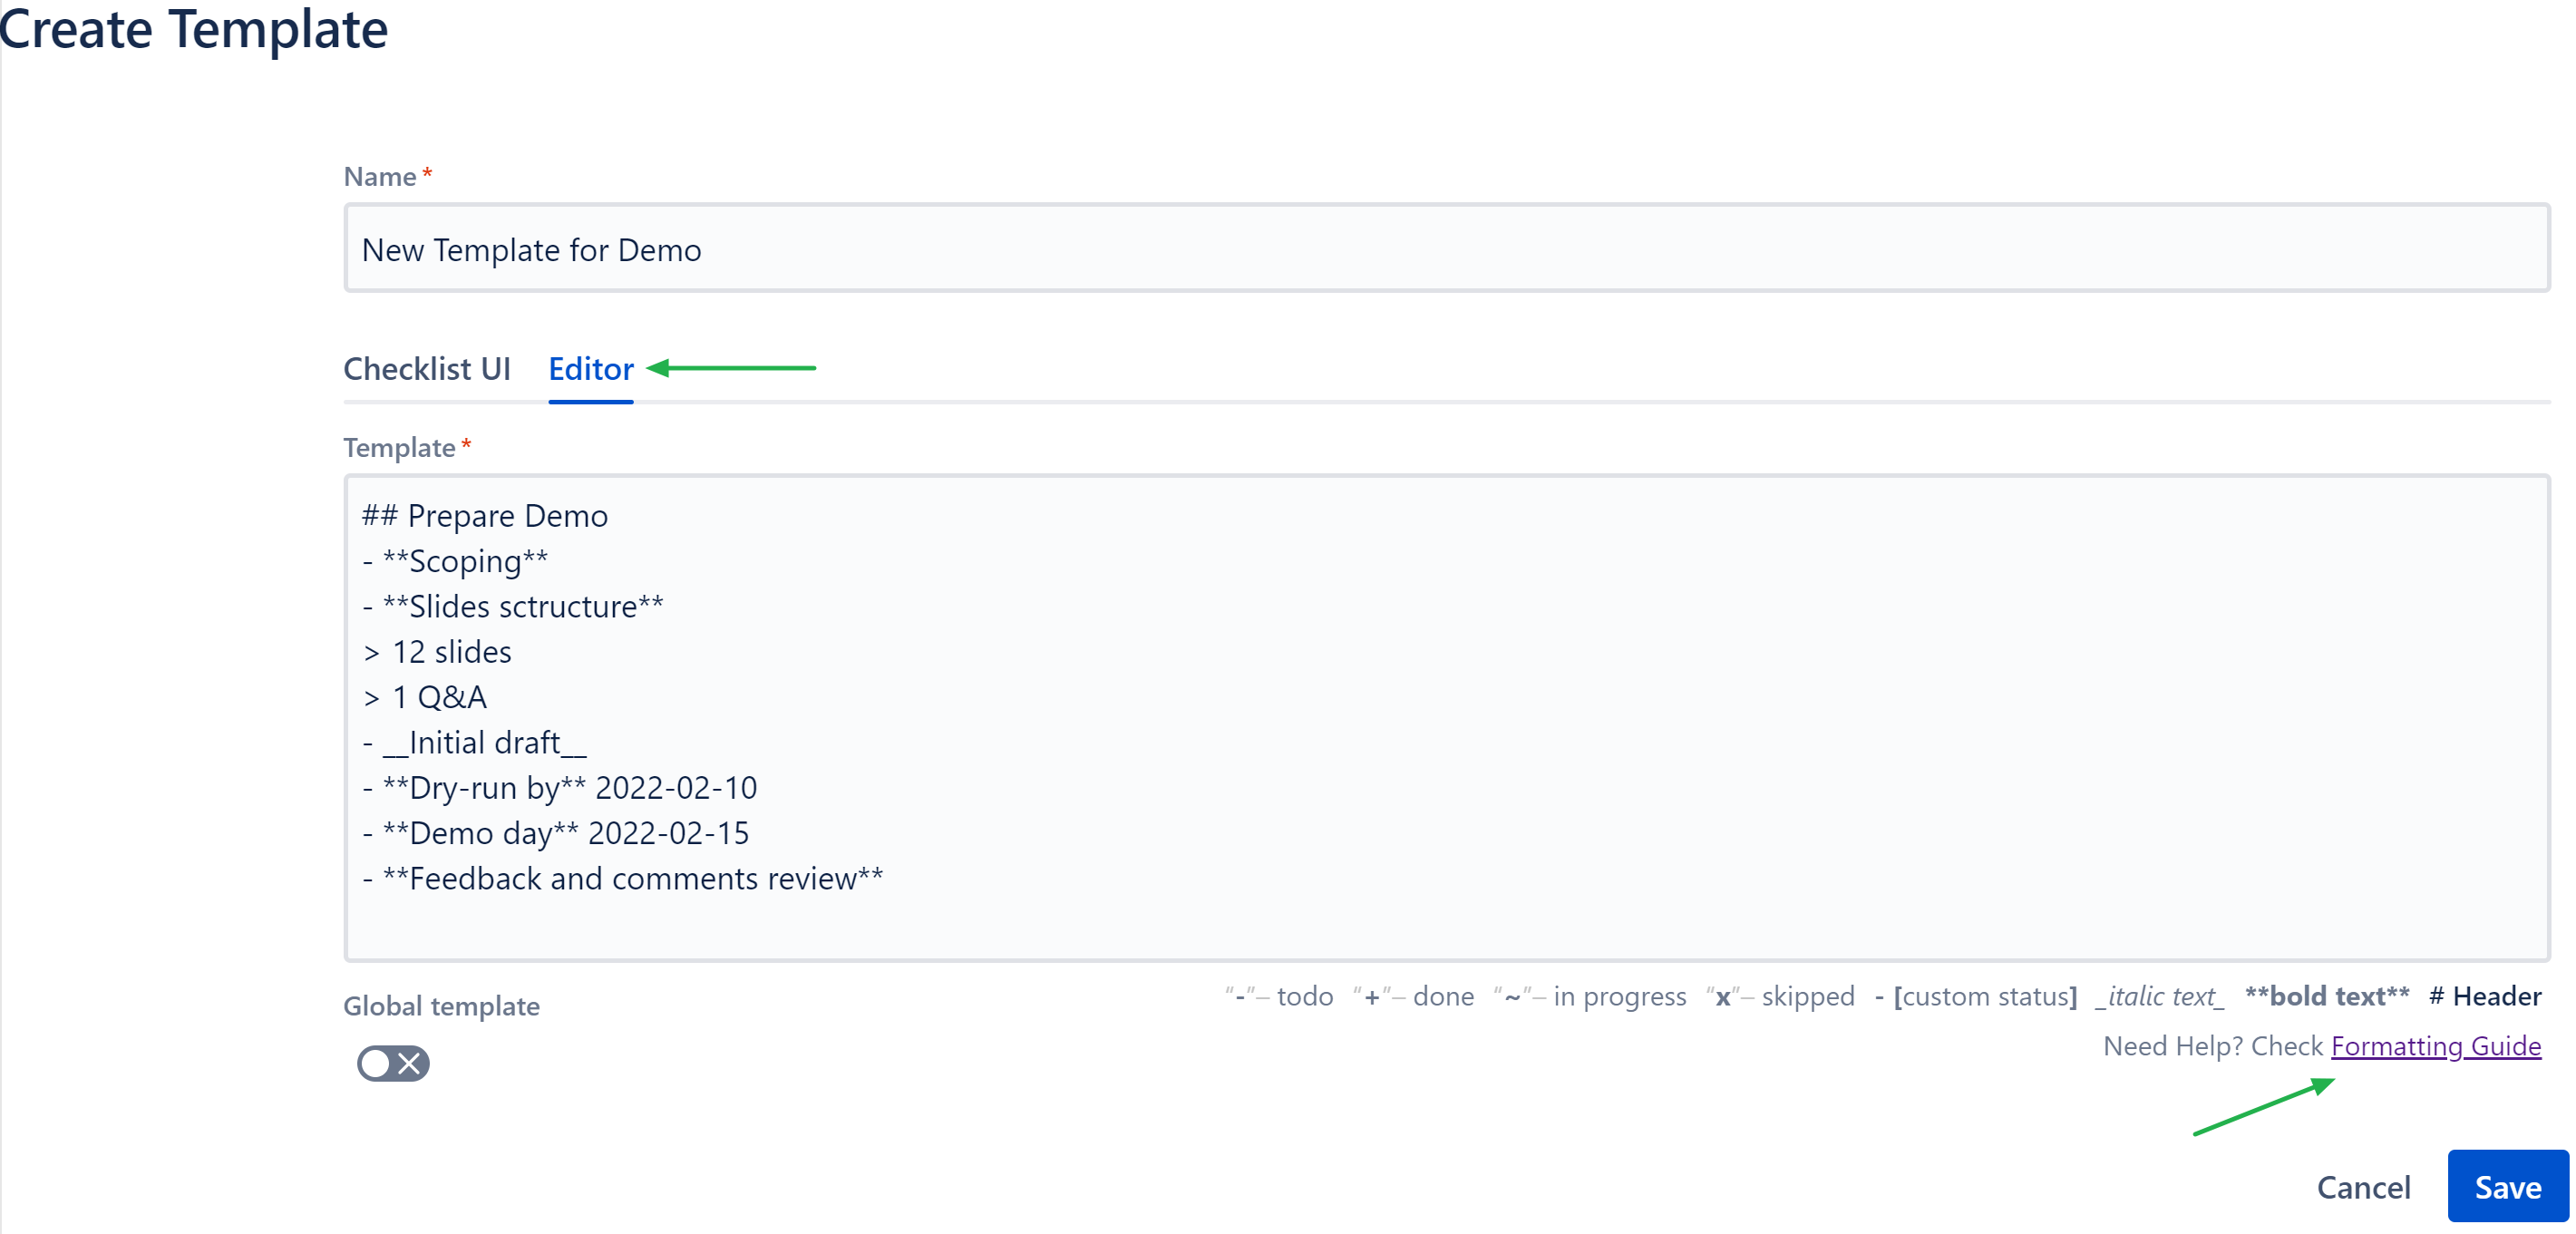
When a template is configured, click [Save].
Filtering by Assignee on the Assigned items page
| Status | ||||
|---|---|---|---|---|
|
Search checklist items assigned to a specific Jira user on the Assigned Items page.
How to use the feature
Navigate to Assigned Smart Checklist Items page:
From Apps: Apps → Smart Checklist Items Free / Pro
From Jira Profile: Profile → Smart Checklist Items Free / Pro
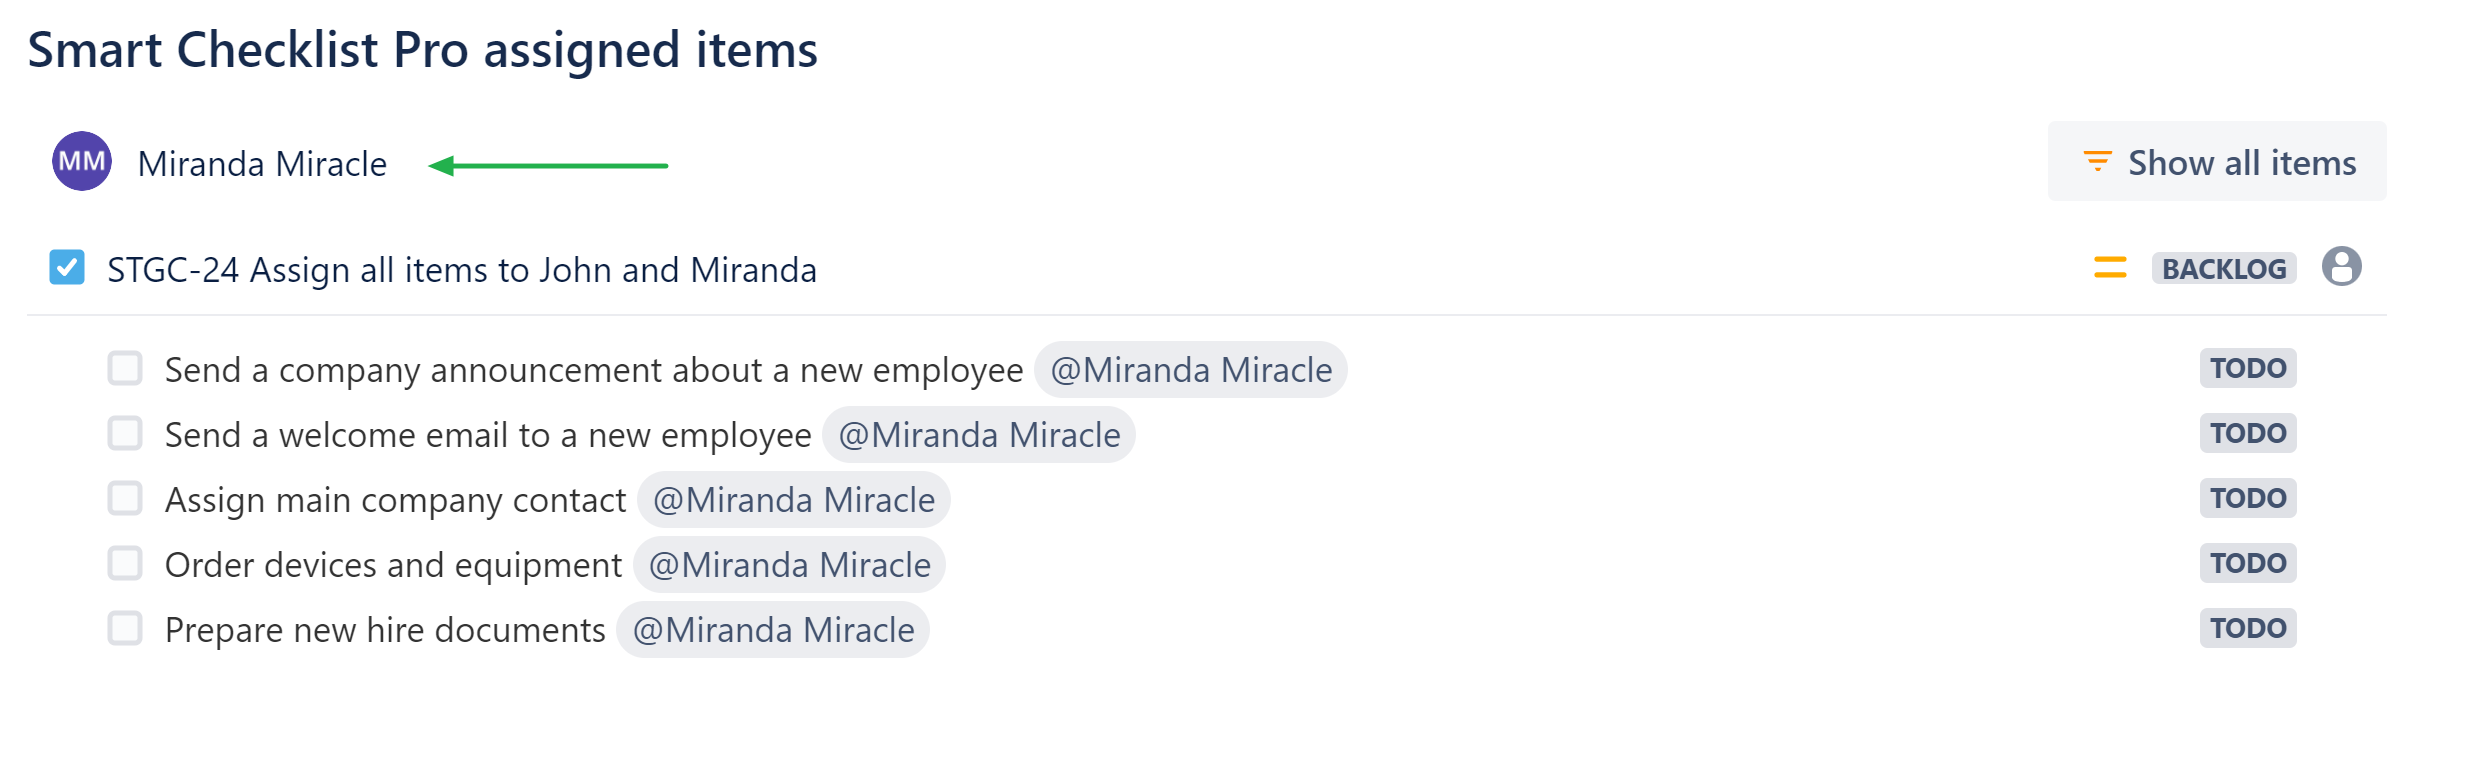
Review items assigned to you (default view):
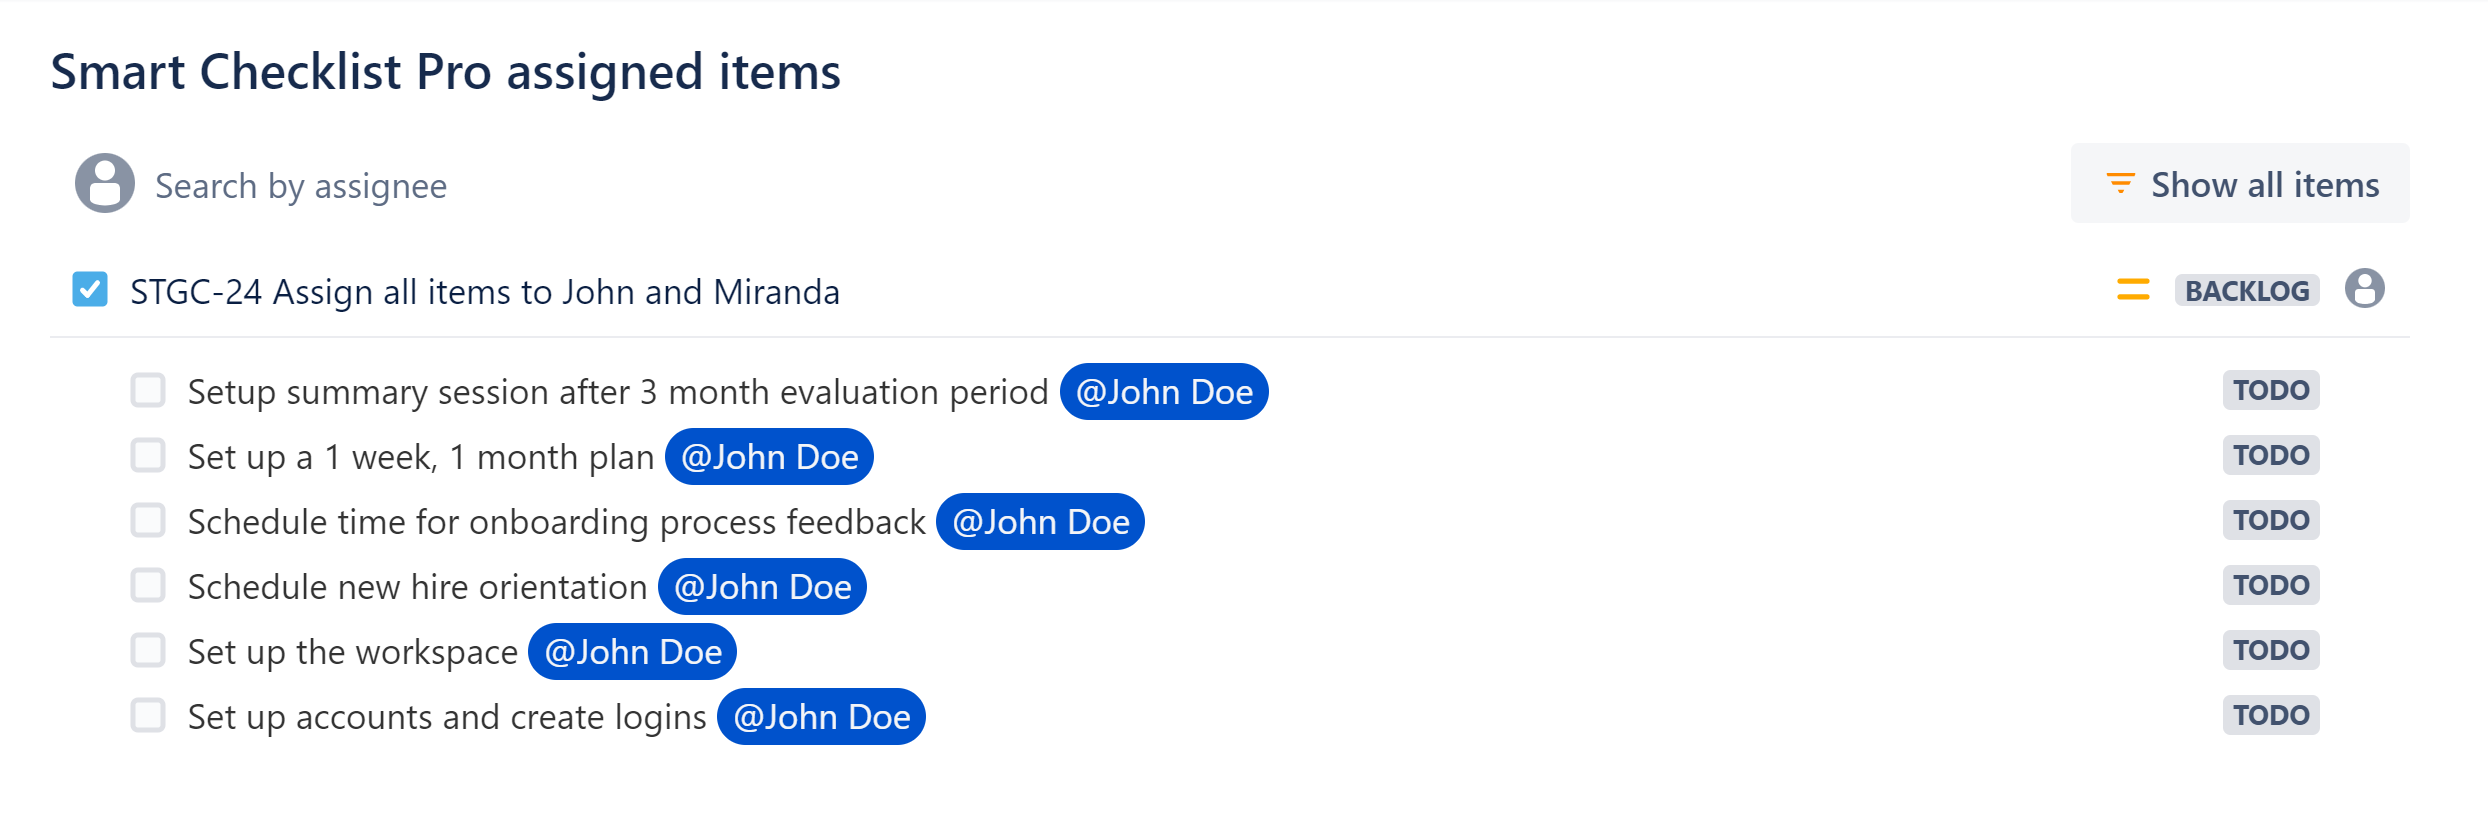
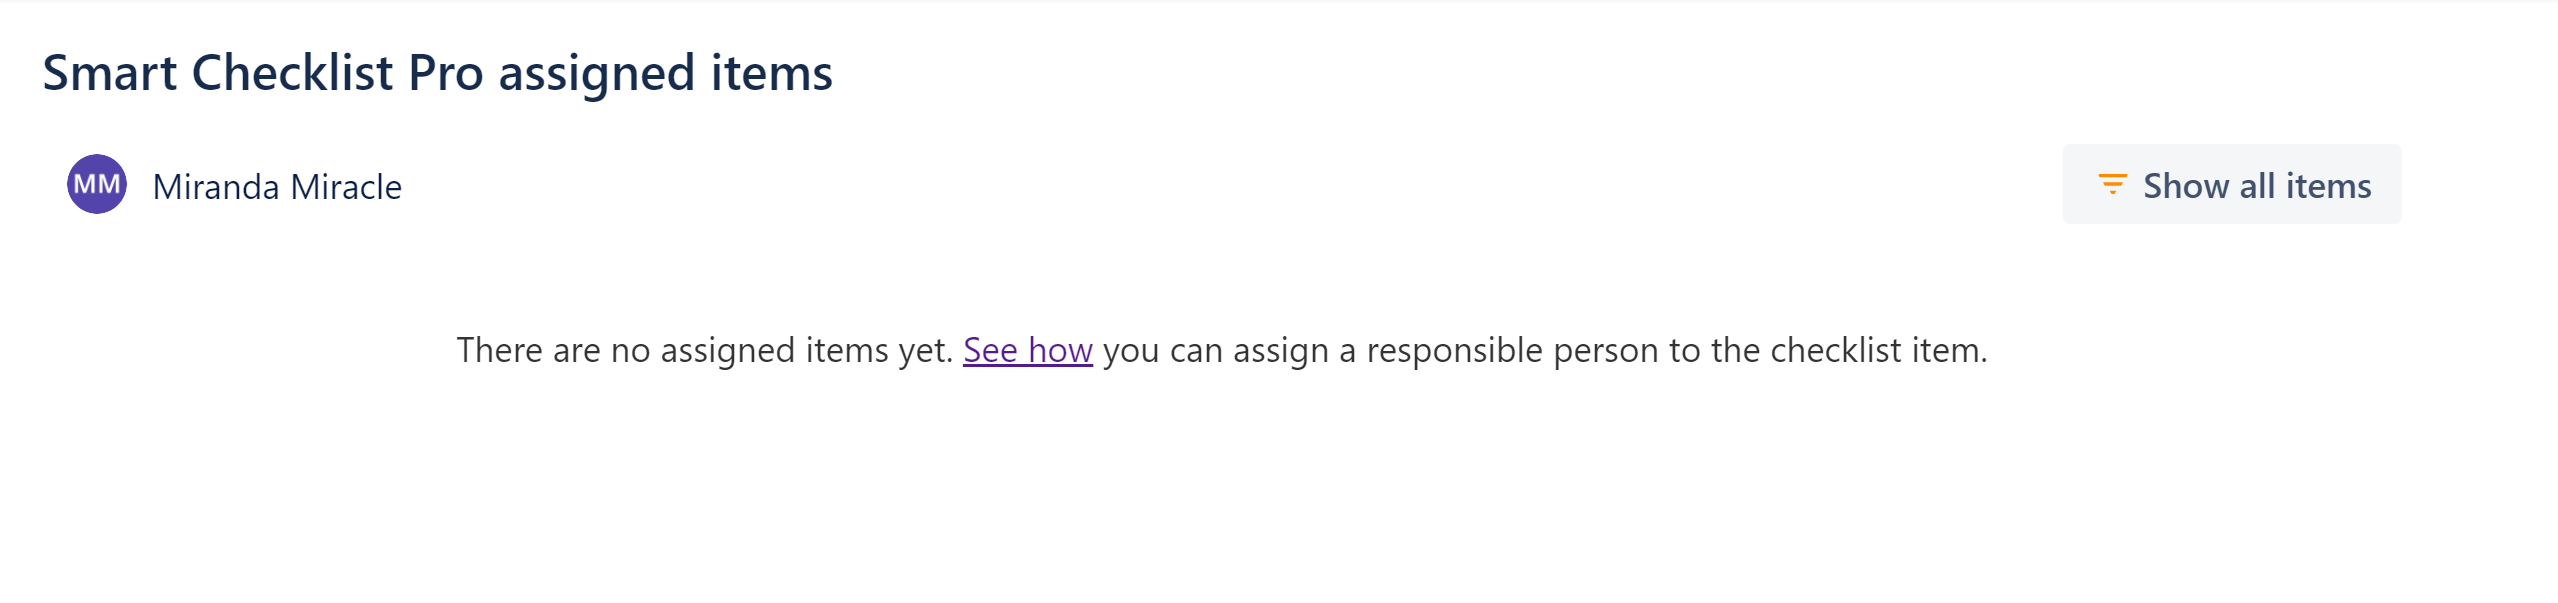
Select a specific Jira user to review assigned items of this person. Type Name in “Search by assignee“ field:
In case there are no assigned items to this person, please see how you can assign an item here.
Add hide completed items filter on the Assigned items page
| Status | ||||
|---|---|---|---|---|
|
Filter out completed assigned checklist items with new filter.
How to use the feature
Navigate to Assigned Smart Checklist Items page:
From Apps: Apps → Smart Checklist Items Free / Pro
From Jira Profile: Profile → Smart Checklist Items Free / Pro
Review items assigned to you.
 Note: The default view includes only unchecked items and [Show all items] button is available
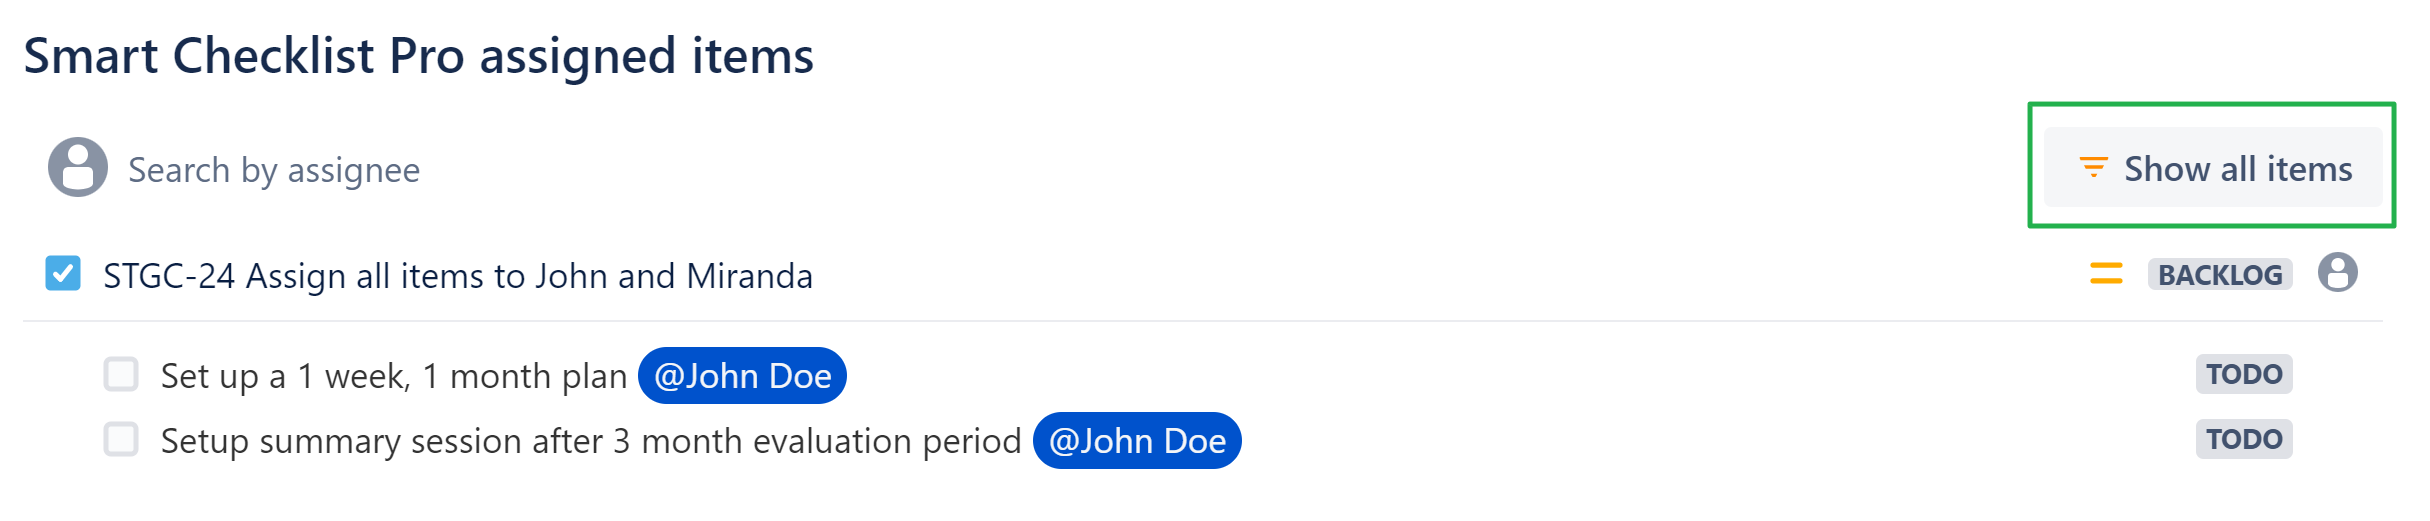
Click [Show all items] to review all items assigned to you, both checked and unchecked.
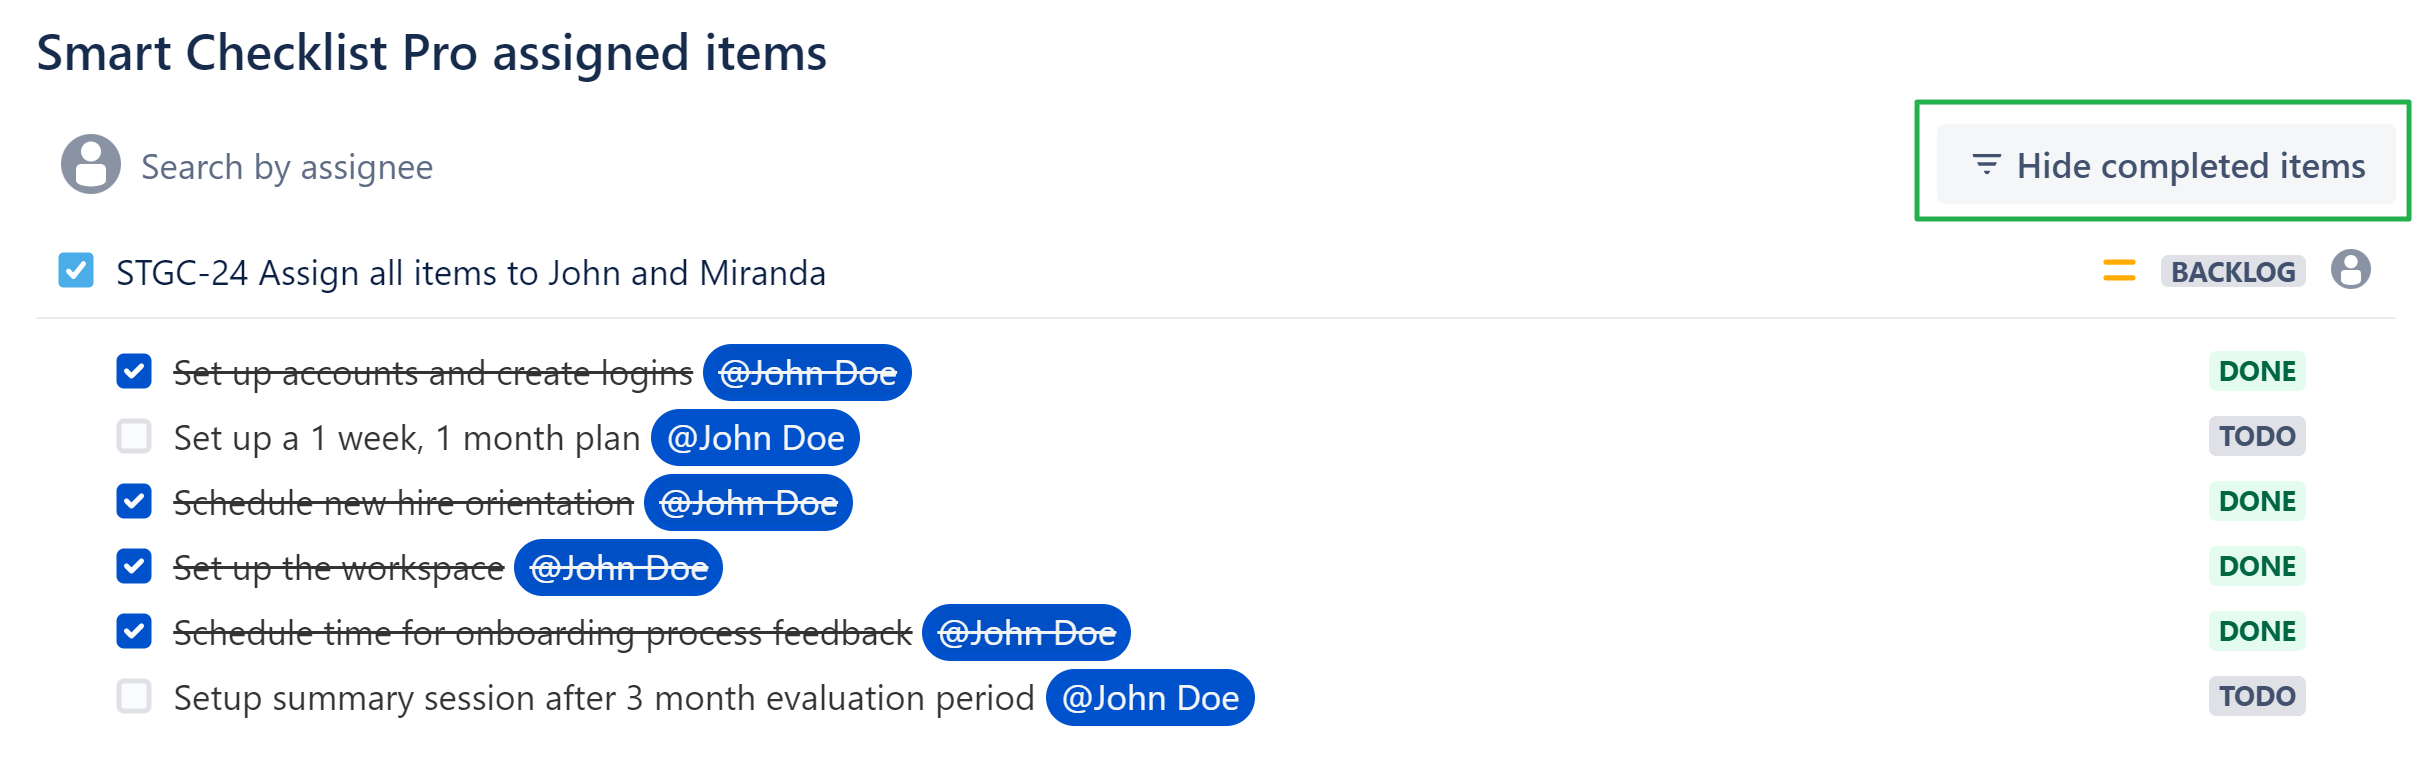
Click [Hide completed items] to return to the default view.
Add date by typing "//"
| Status | ||||
|---|---|---|---|---|
|
After typing "//" the calendar view is opened where you can select date.
...
| Note |
|---|
Note: Formating is based on ISO8601 and representation depends on past, current or future date: |
...
Add emojis by ":"
Emojis are frequent and meaningful in today’s communication 🤝. Now there is a possiblity to enhance your checklists with additional emphasis when required.
Type ":" and select your favourite emojis.
Use <Search> field to find by emojis' text. Or type emoji shortlink manually, like
:+1
...
...
| Insert excerpt | ||||||
|---|---|---|---|---|---|---|
|