...
Navigate to Templates Settings:
From Project: Project Settings → Apps → Smart Checklist Free / Pro → Templates
From Issue View: "…" → Manage Templates
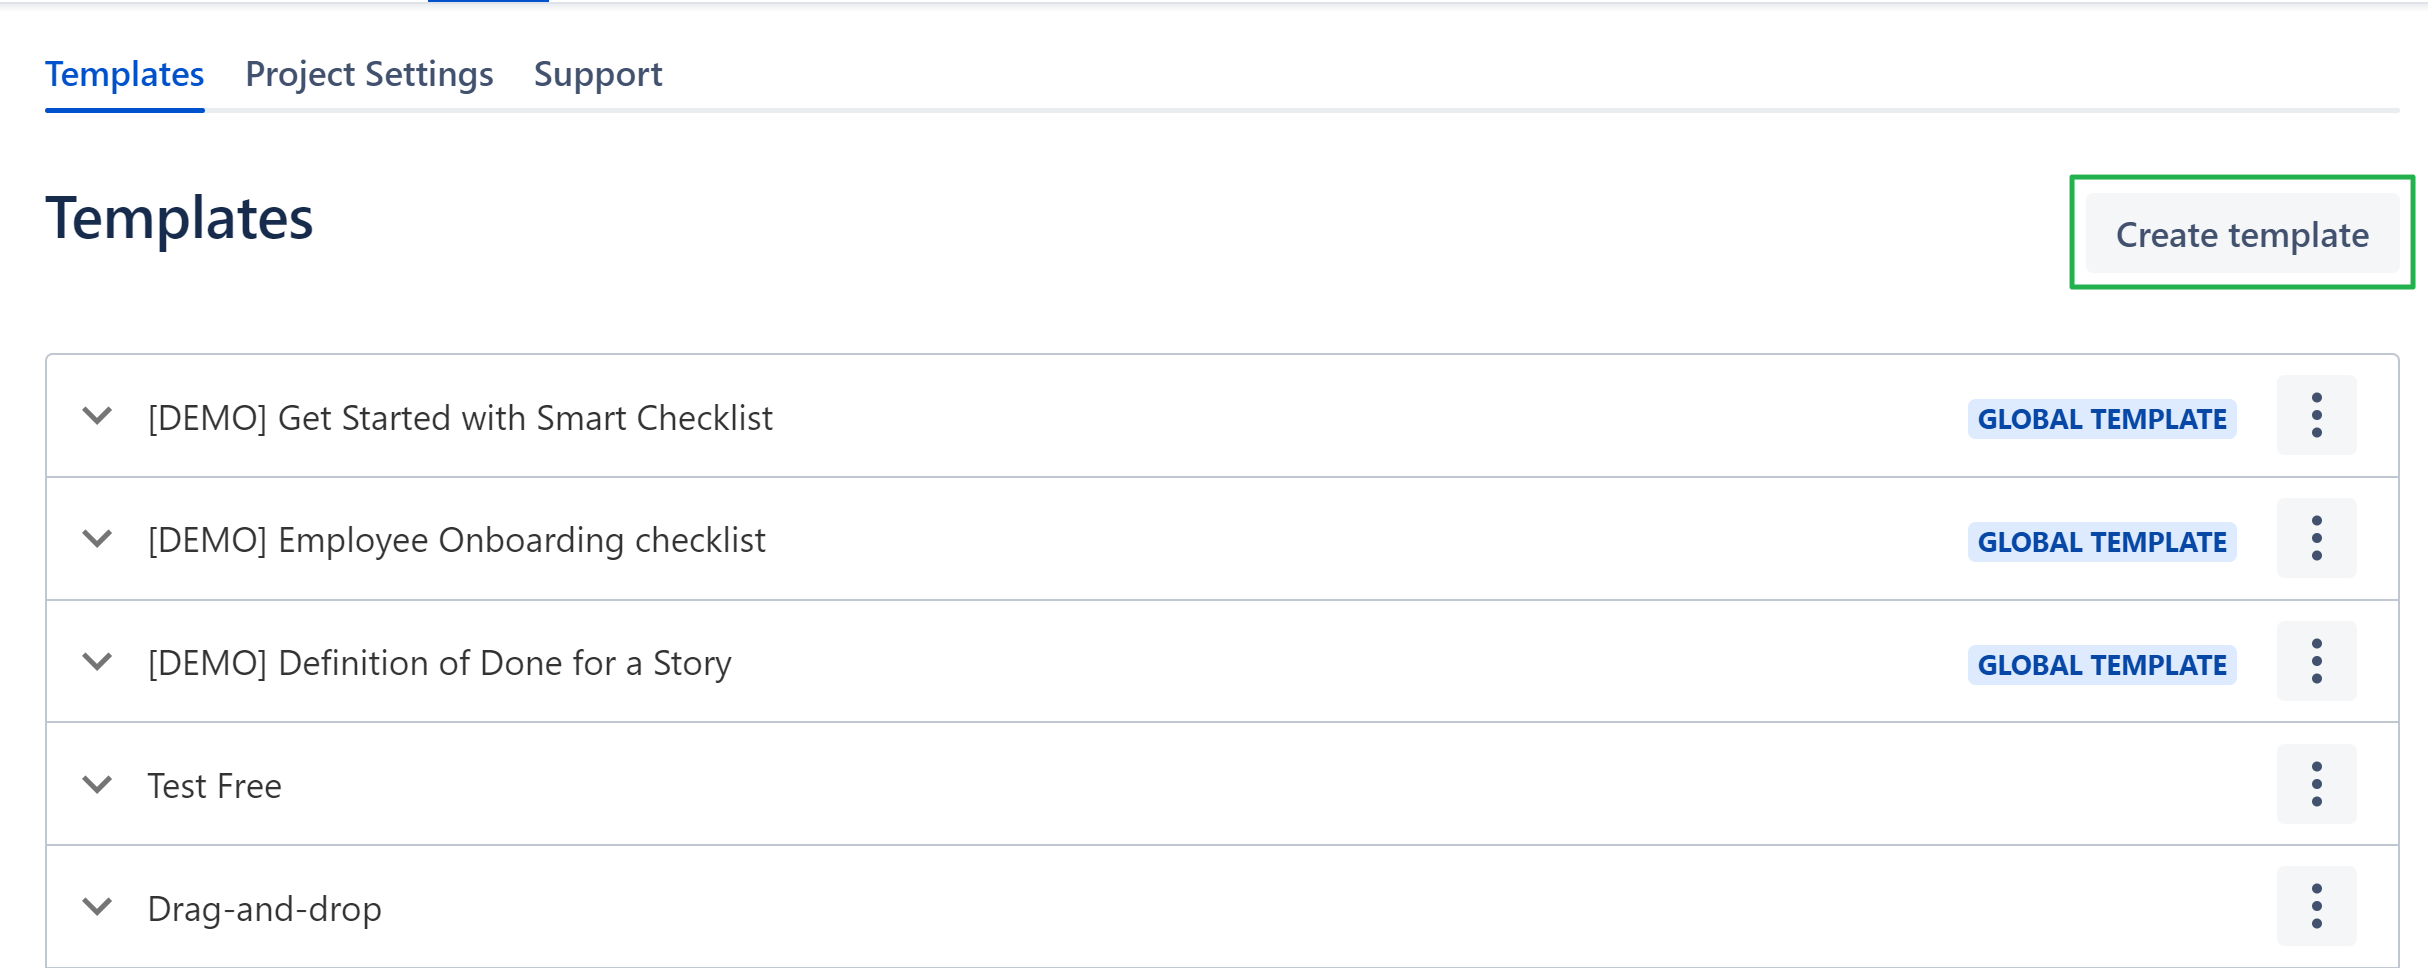
Click [Create template].
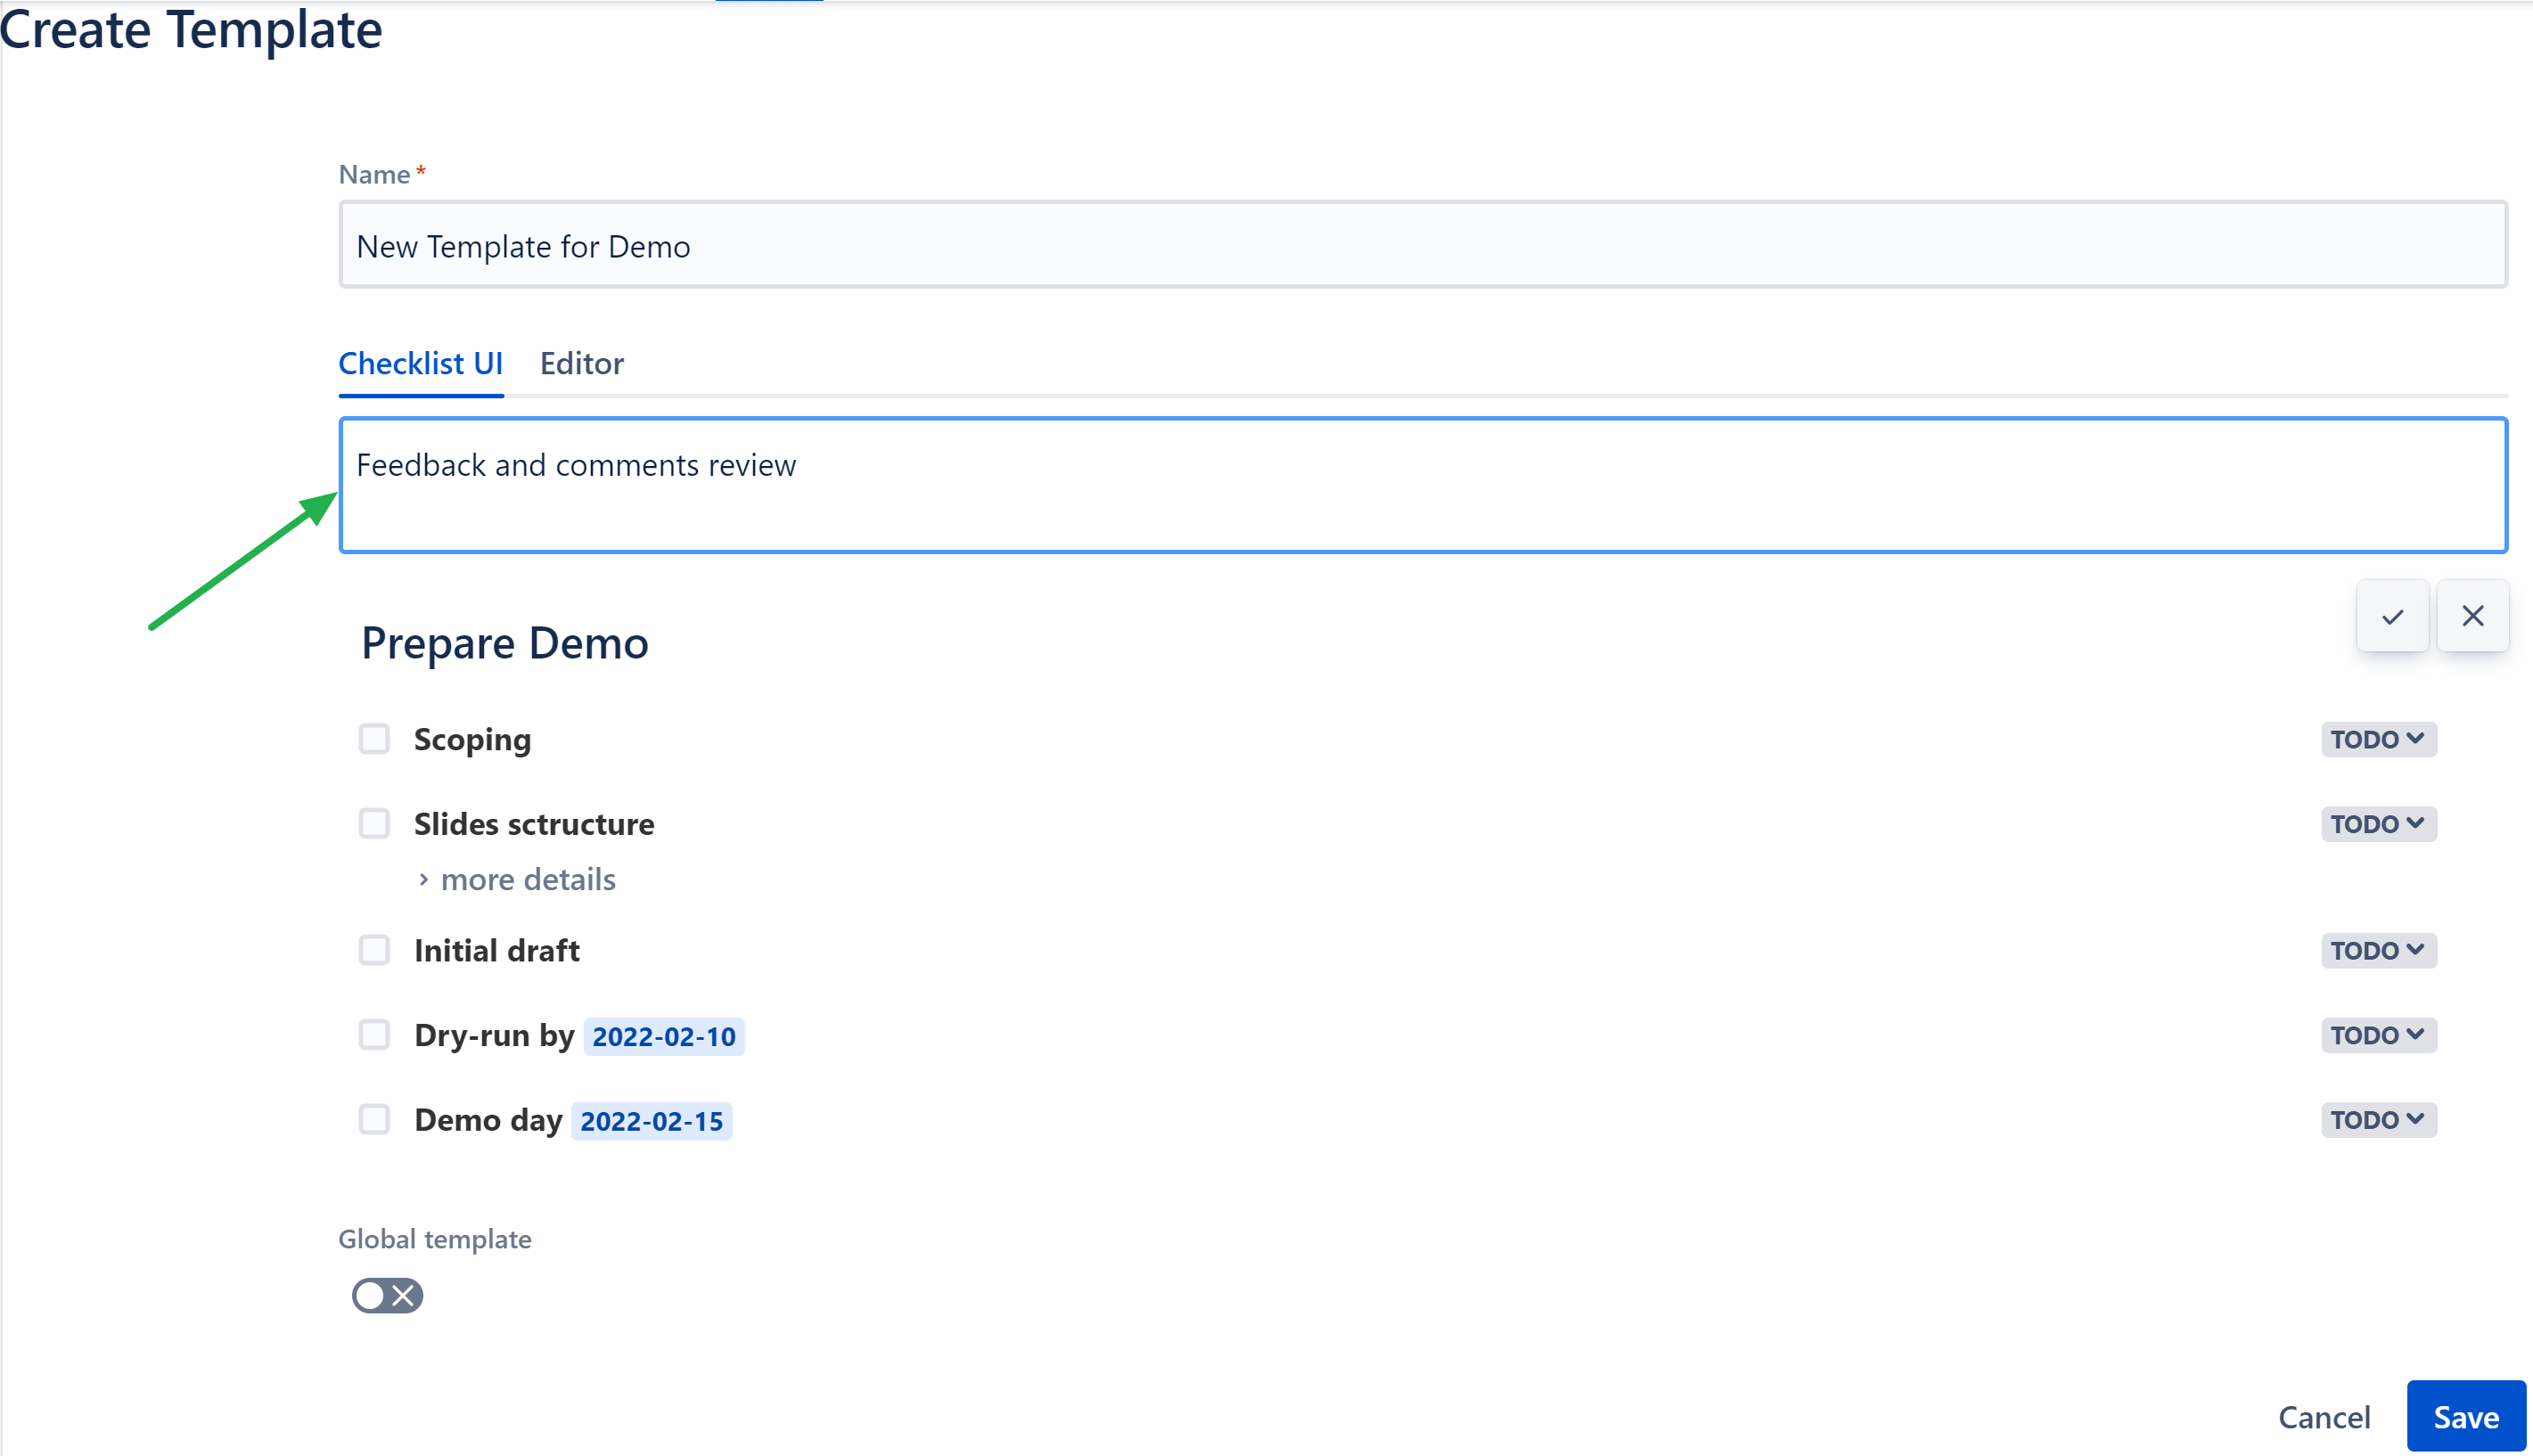
Specify Name of a template and add Checklist Items using <Checklist UI> tab. All basic features are similar to the Issue View:
Change order of items by dragging them up/down.
Edit, check/uncheck, change status.
Add details to items.
Delete items.
Use <Editor> tab for raw text veiw and additional formatting:
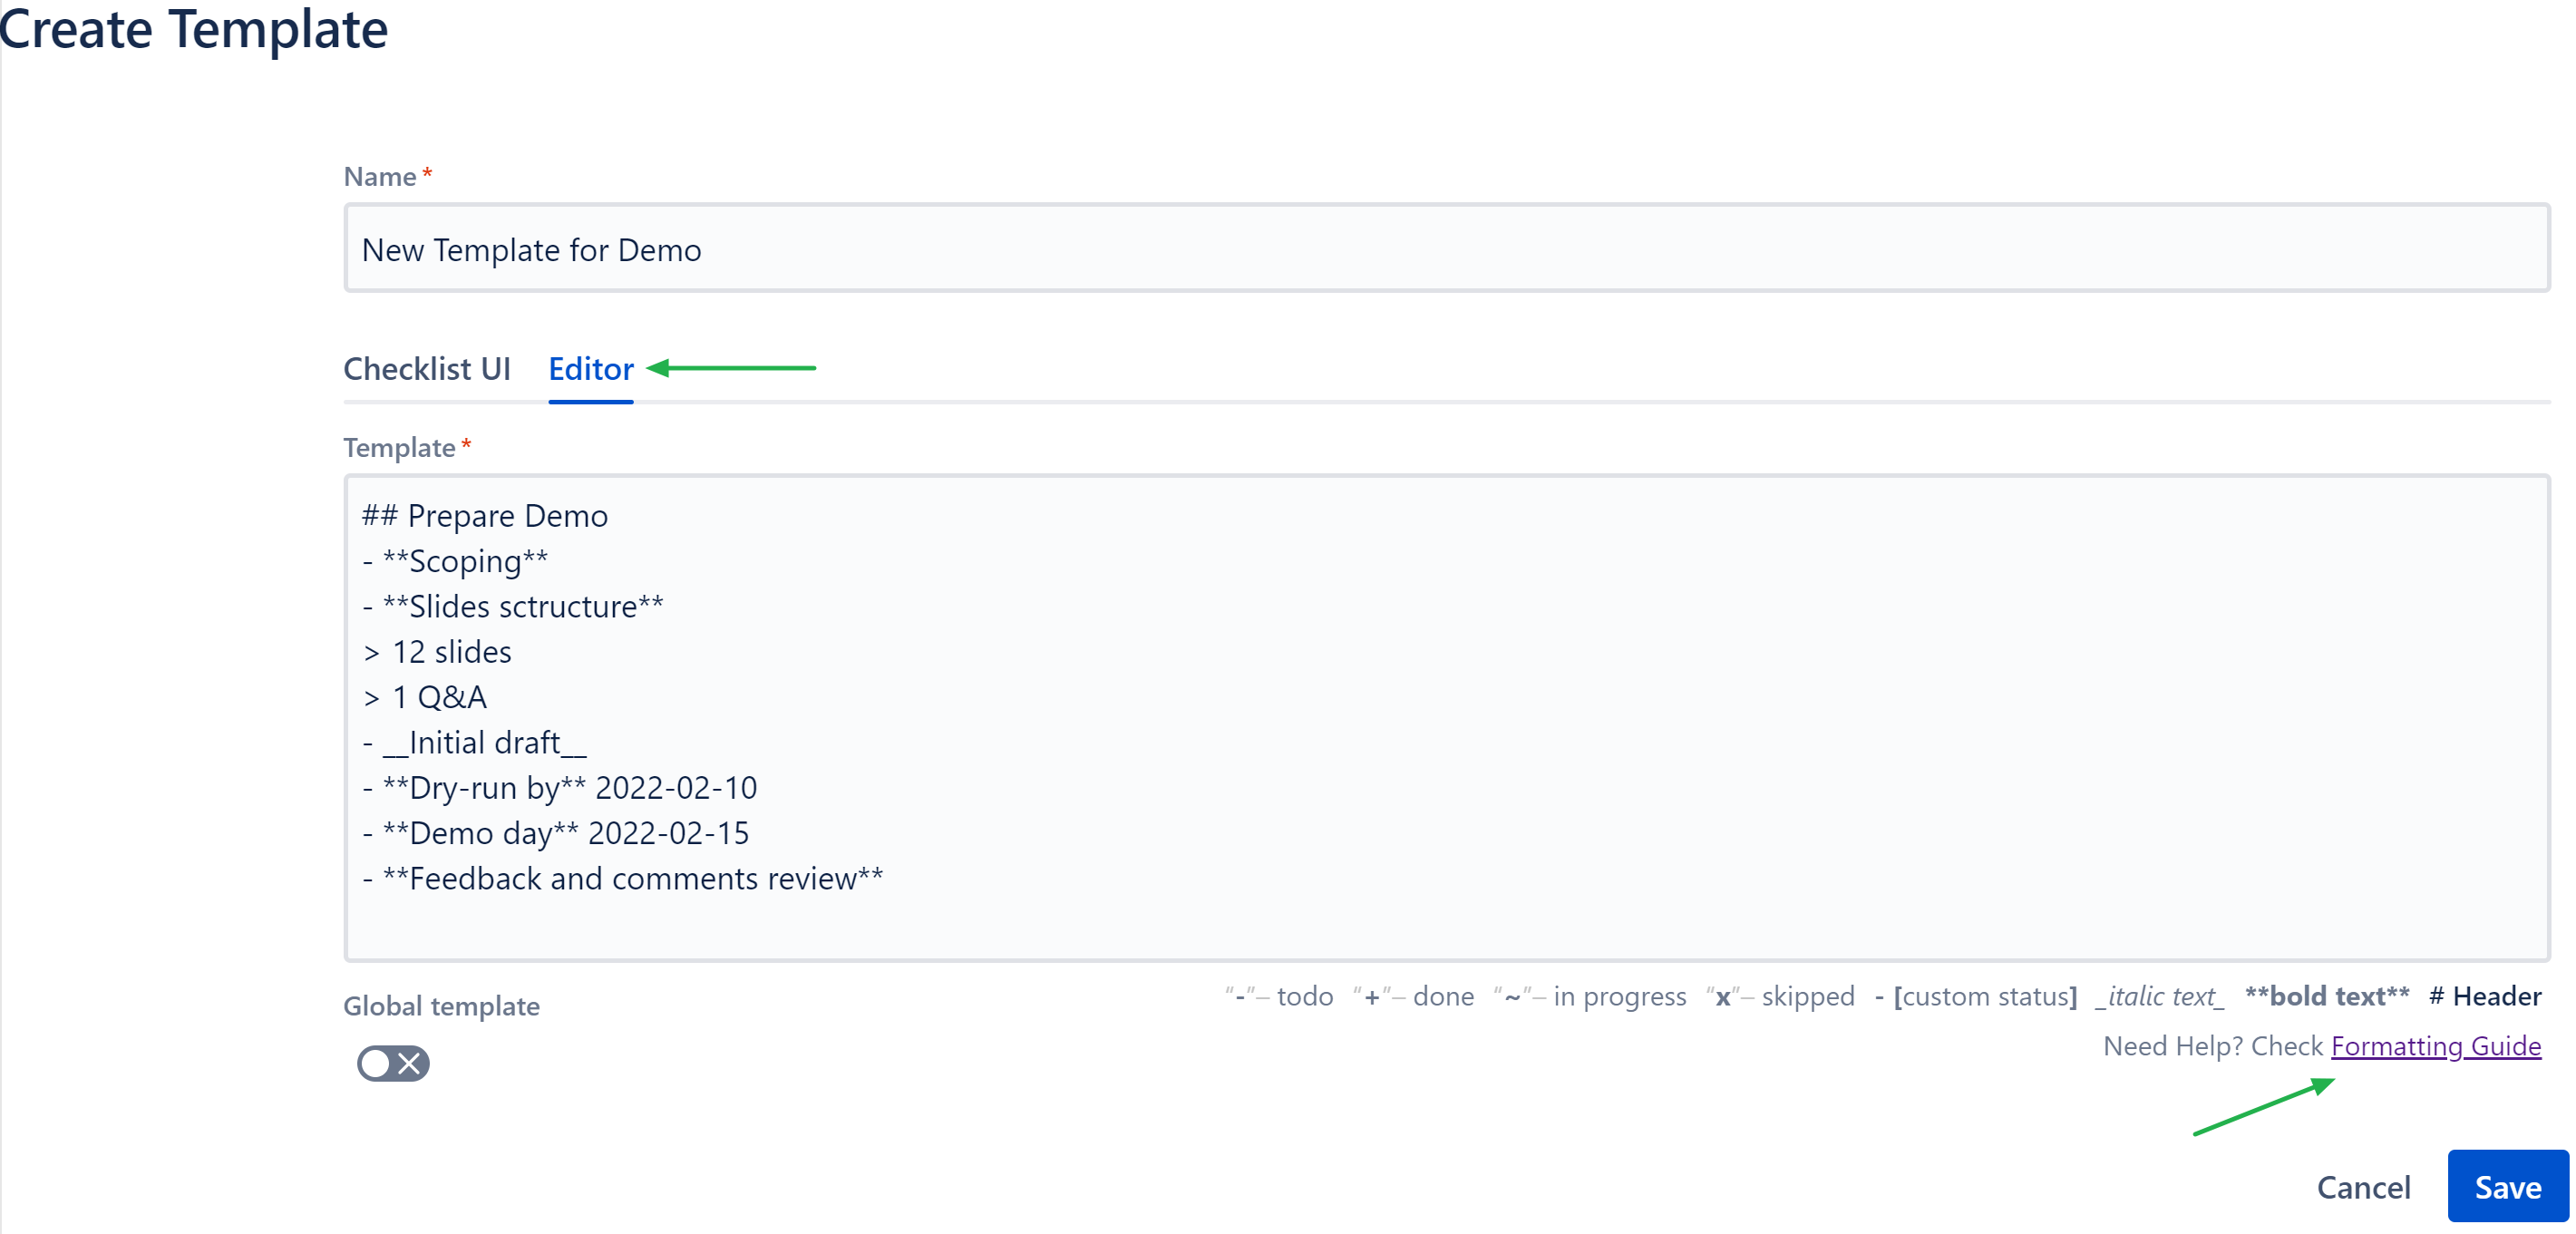
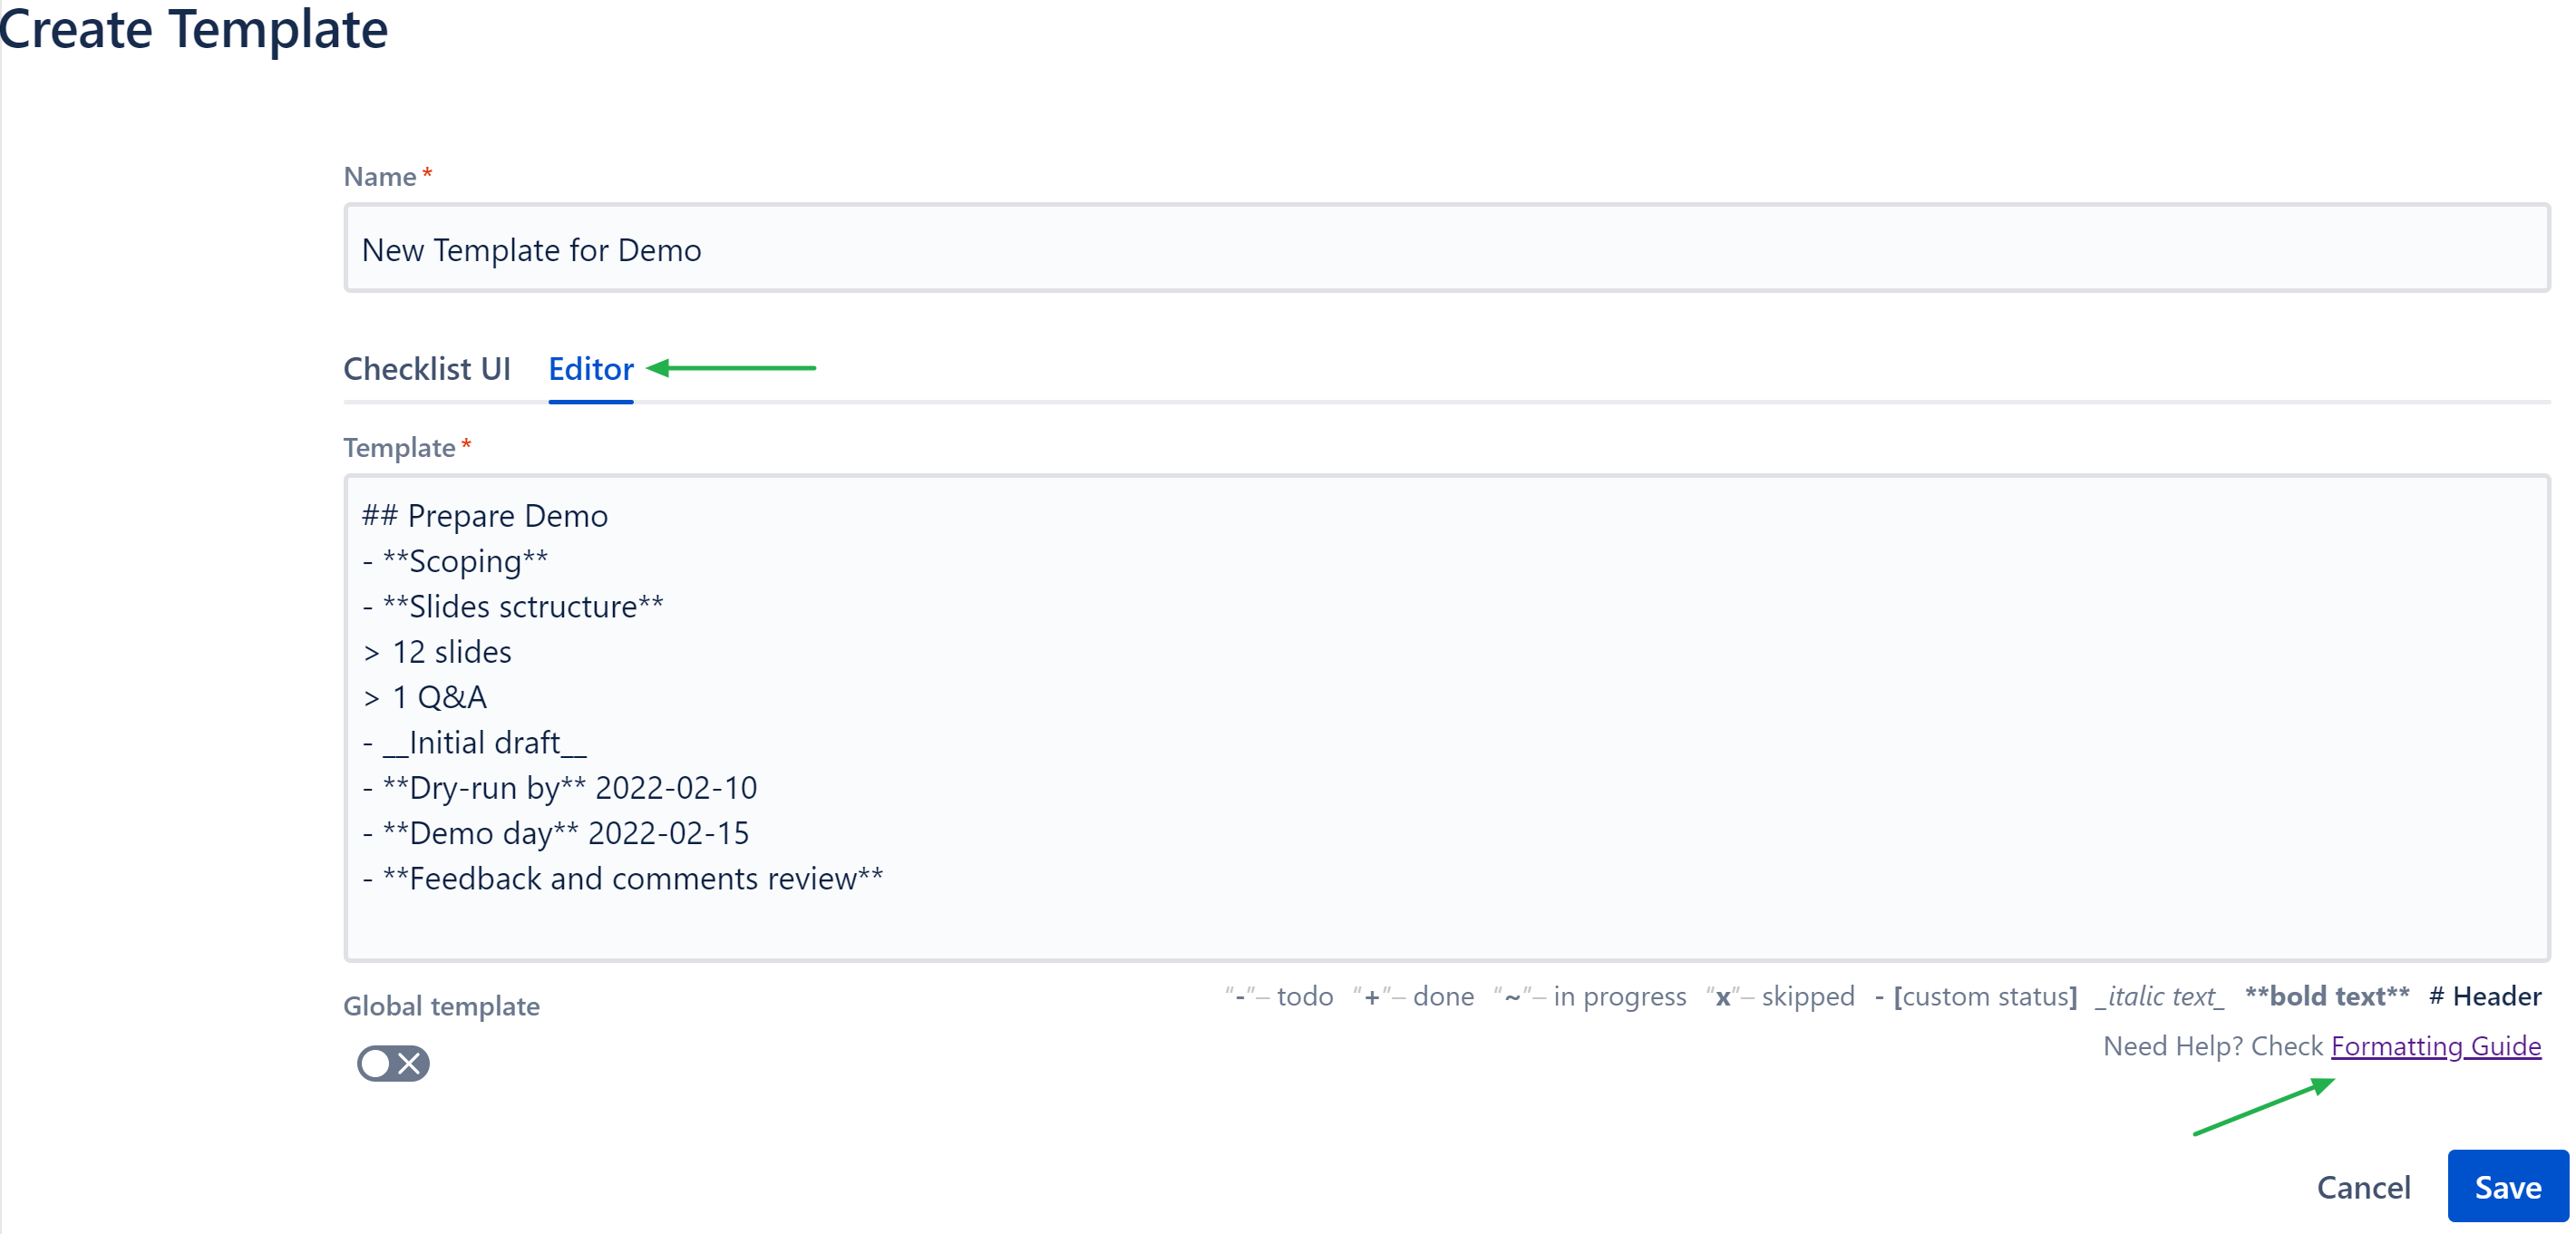
When a template is configured, click [Save].
...
Navigate to Assigned Smart Checklist Items page:
From Apps: Apps → Smart Checklist Items Free / Pro
From Jira Profile: Profile → Smart Checklist Items Free / Pro
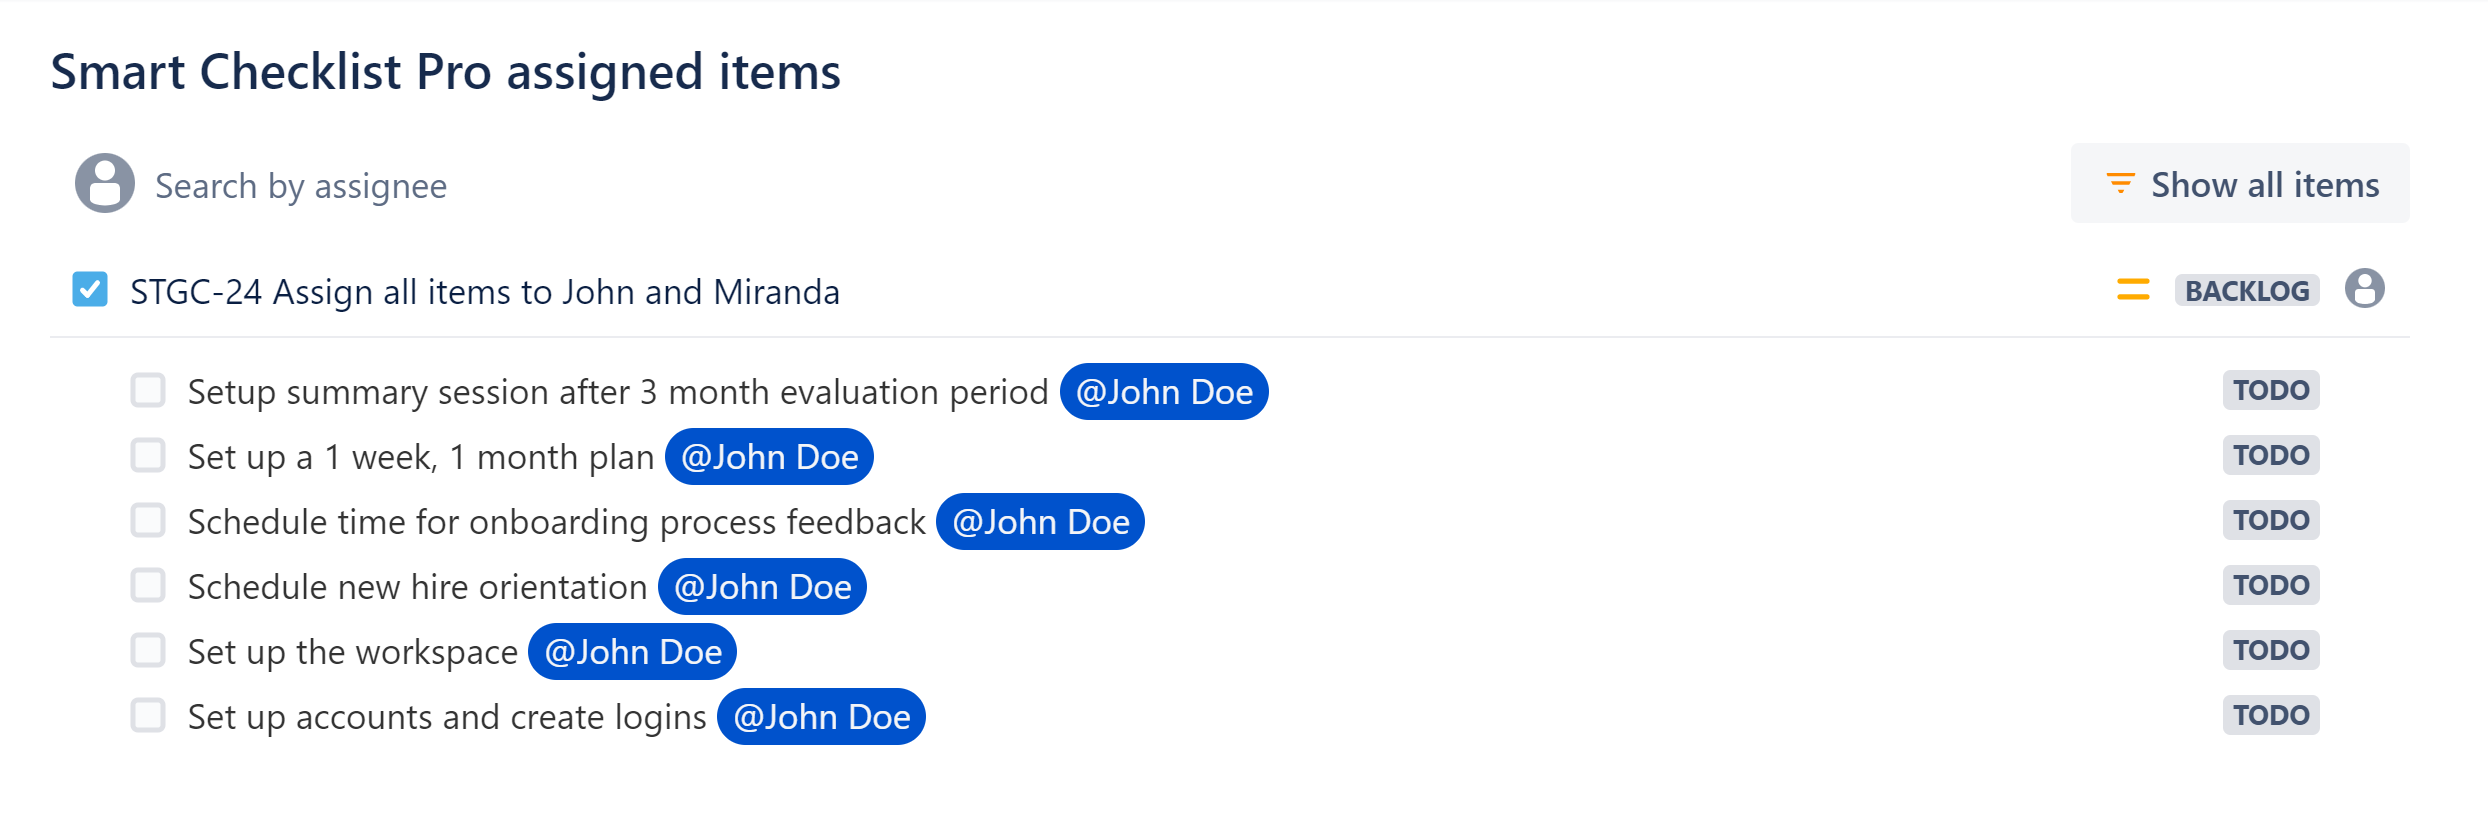
Review items assigned to you (default view):

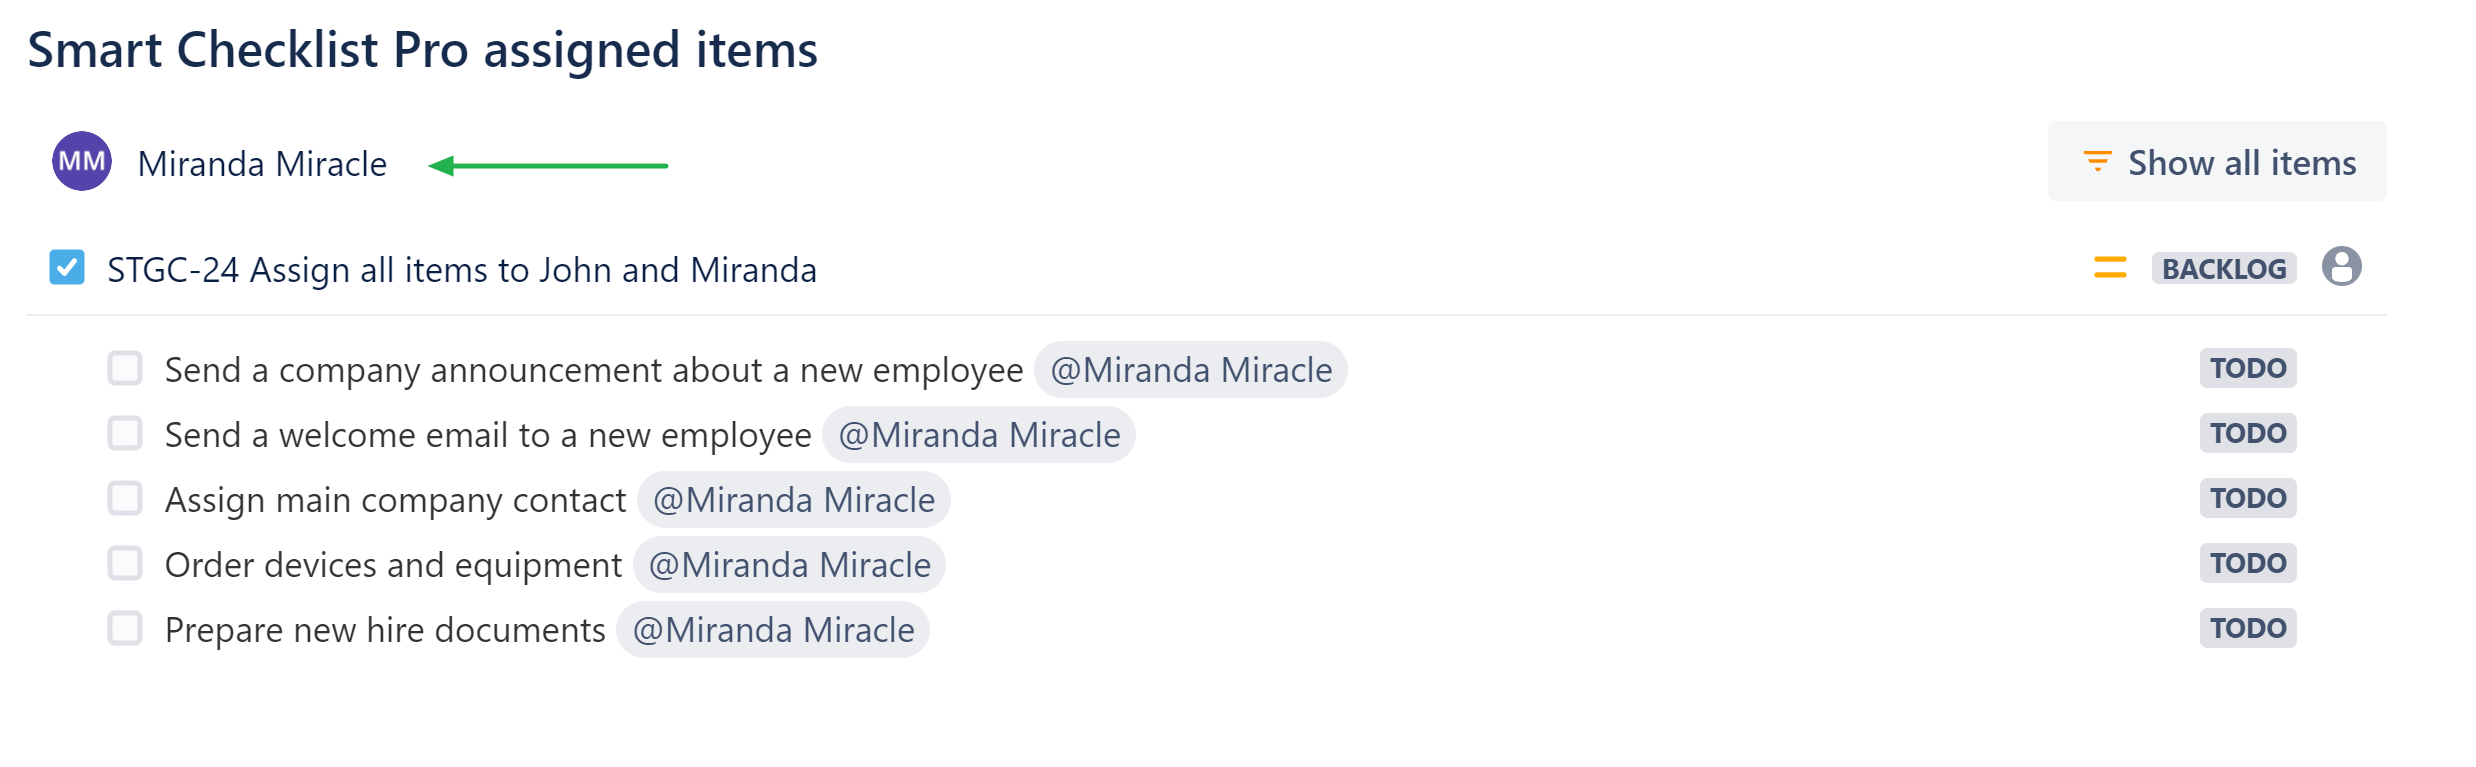
Select a specific Jira user to review assigned items of this person. Type Name in “Search by assignee“ field:

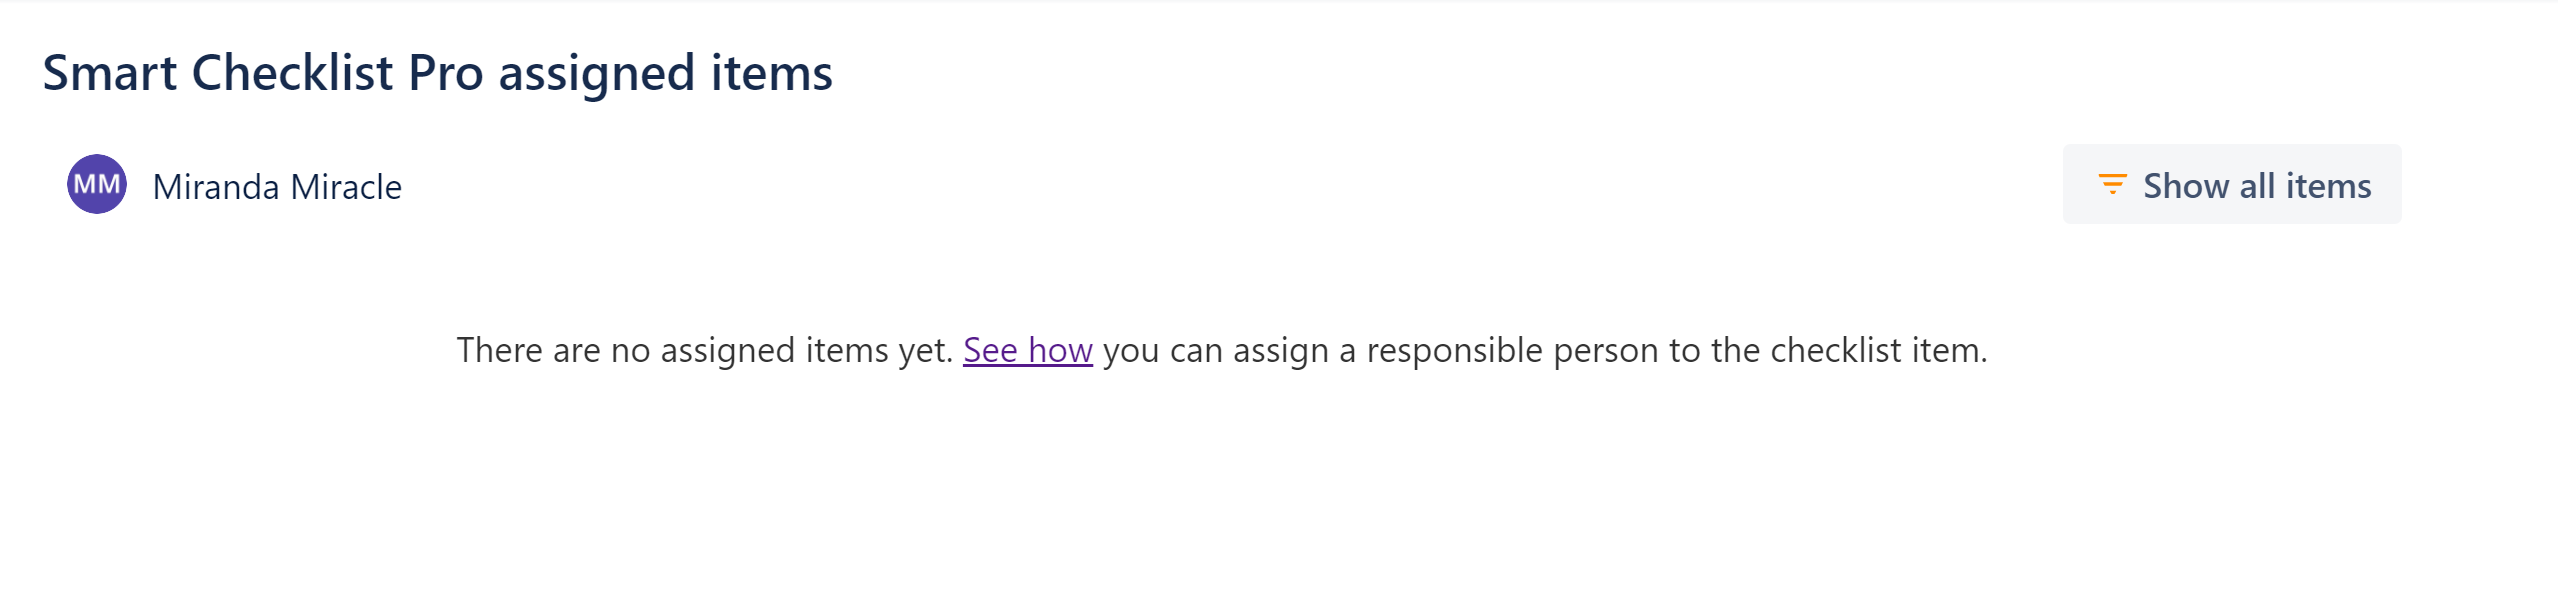
In case there are no assigned items to this person, please see how you can assign an item here.

Add hide completed items filter on the Assigned items page
| Status | ||||
|---|---|---|---|---|
|
...
Navigate to Assigned Smart Checklist Items page:
From Apps: Apps → Smart Checklist Items Free / Pro
From Jira Profile: Profile → Smart Checklist Items Free / Pro
Review items assigned to you.
 Note: The default view includes only unchecked items and [Show all items] button is available
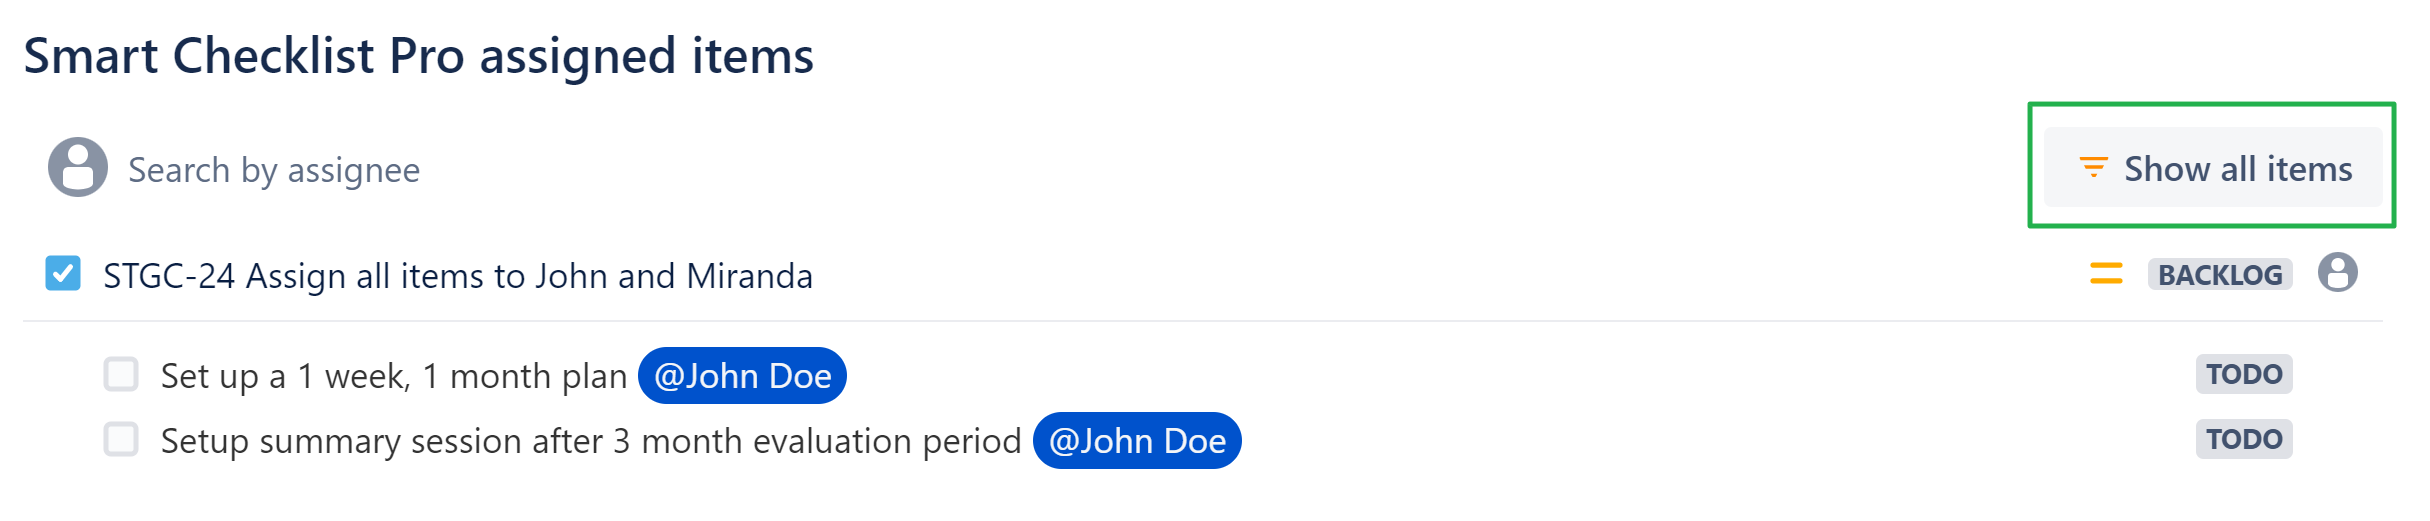
Click [Show all items] to review all items assigned to you, both checked and unchecked.

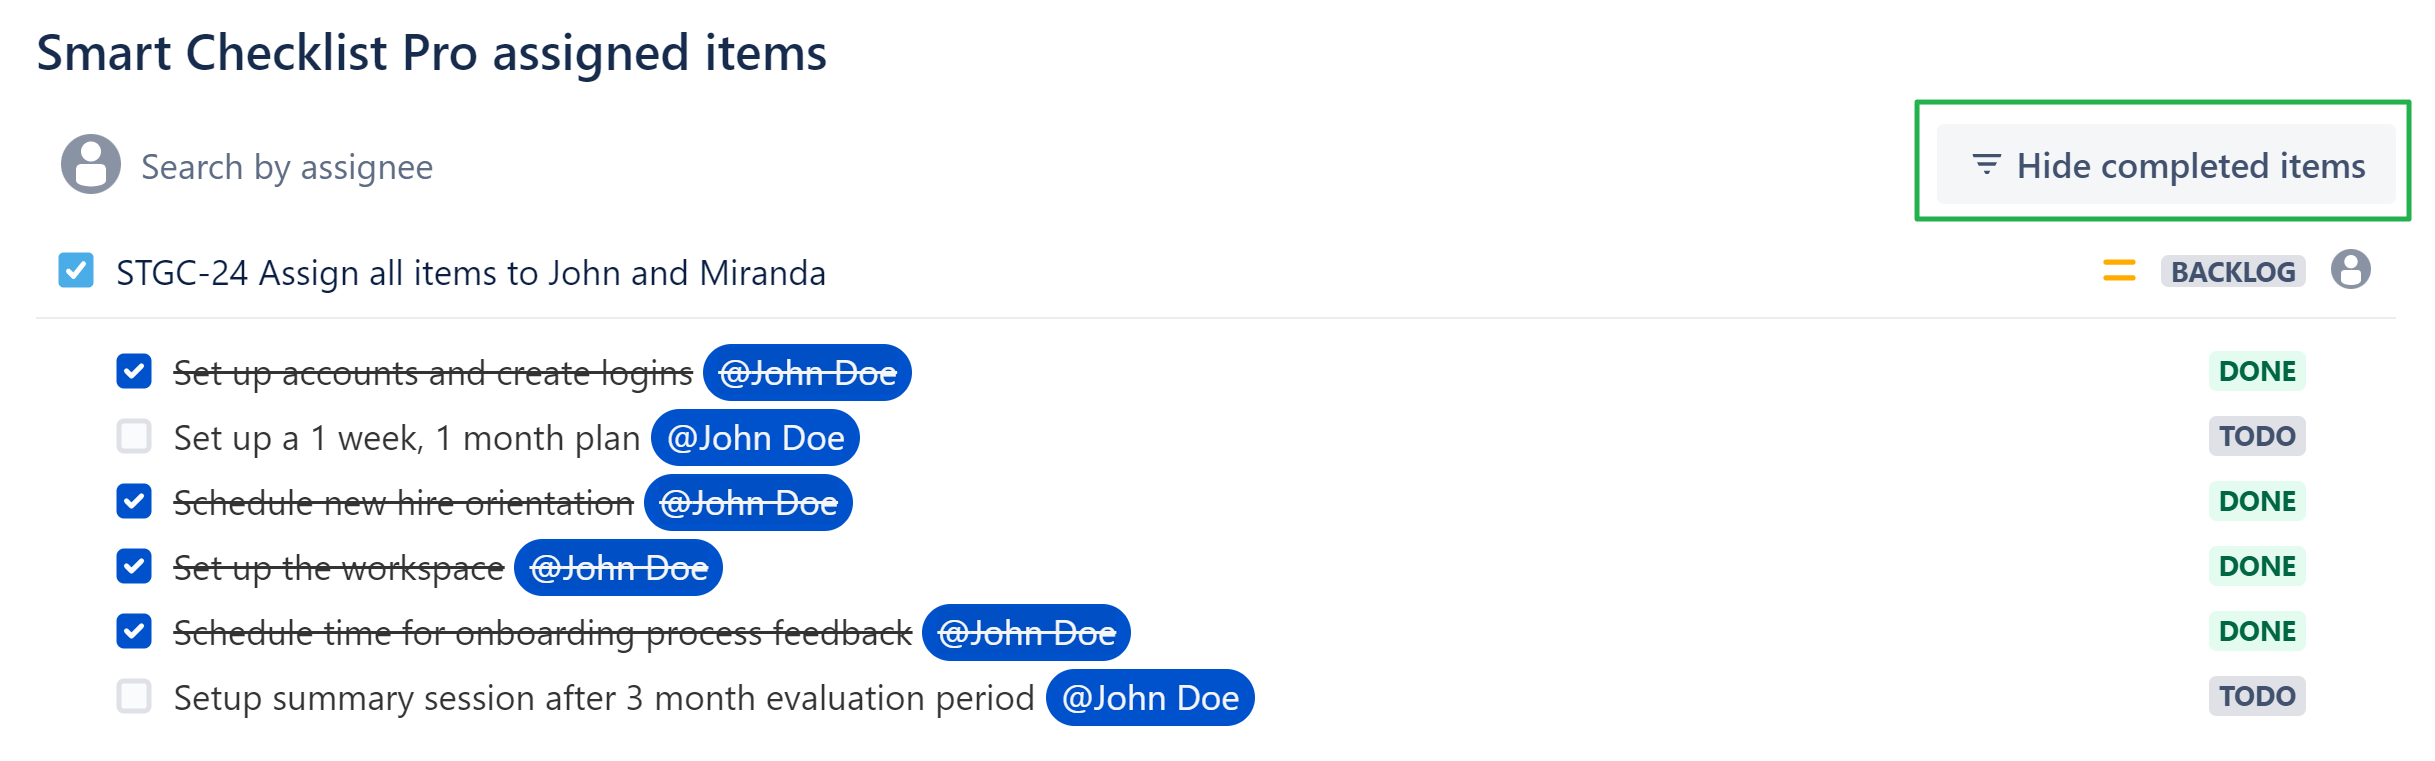
Click [Hide completed items] to return to the default view.
...
Type ":" and select your favourite emojis.
Use <Search> field to find by emojis' text. Or type emoji shortlink manually, like
:+1:
...
...
| Insert excerpt | ||||||
|---|---|---|---|---|---|---|
|