...
| Tip |
|---|
Import Issues with the Smart Checklist content ⚡️ |
| Panel | ||||||||
|---|---|---|---|---|---|---|---|---|
| ||||||||
RequiresChecklists Custom Field→ "Checklists" Custom Field |
...
The next steps describe an actual importing process.
Prepare the CSV file
...
Formatting should properly keep new lines
...
with the checklist content:
...
Navigate to the Jira issues list on your Jira
...
project and choose the
...
Import issues from CSV
...
from the 3-dots menu:
...
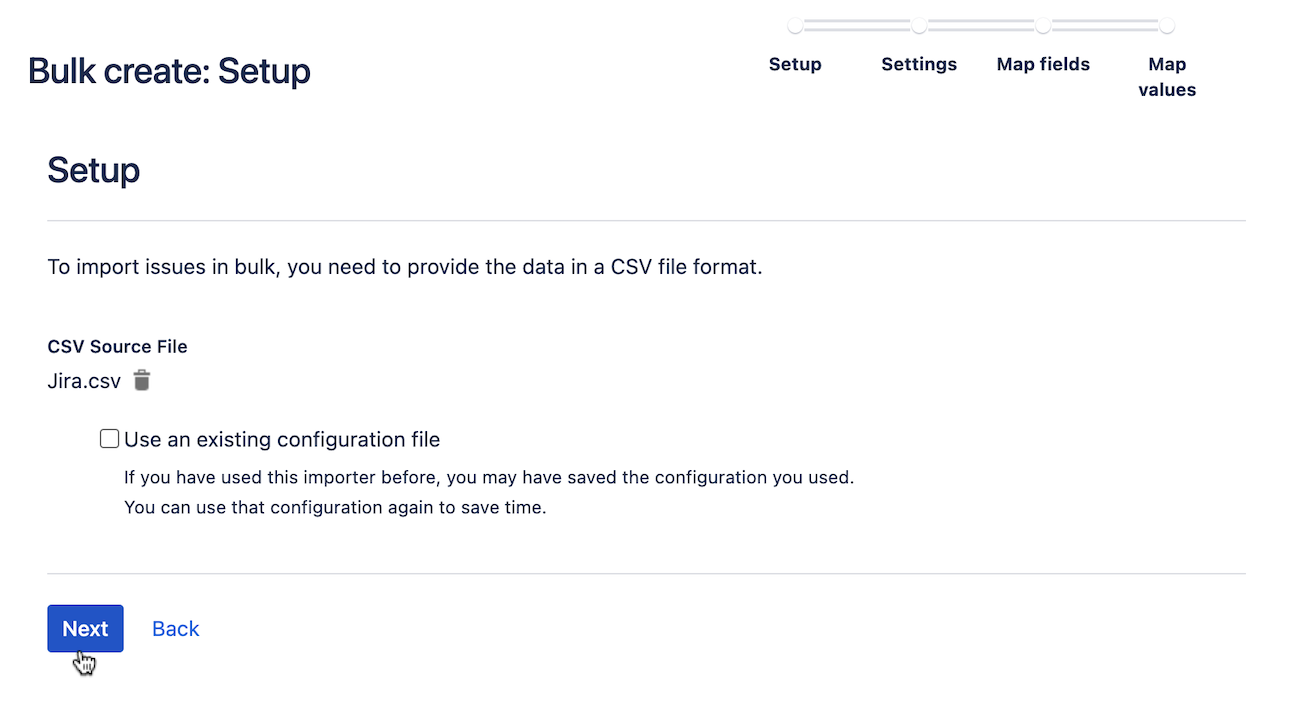
Choose CSV source file and click Next:
...
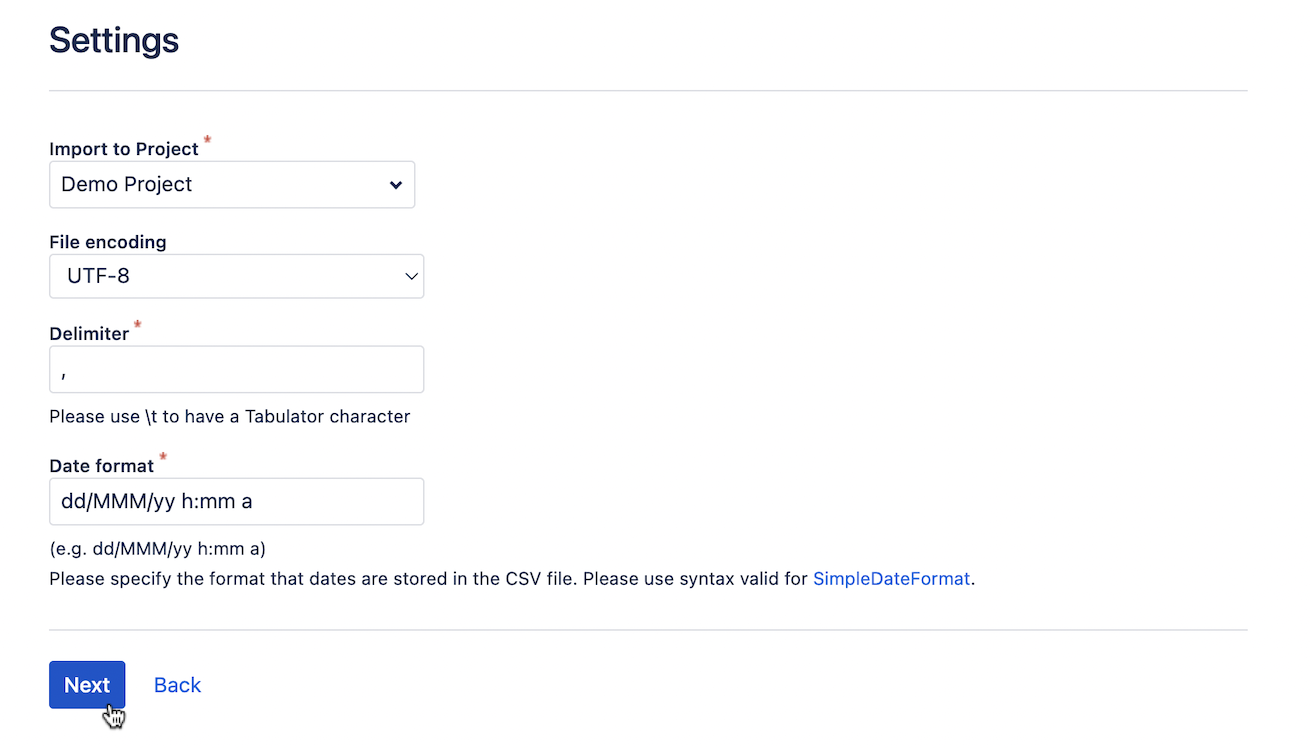
Choose Project and other import settings
...
and click Next:
Set fields mapping
...
Choose the "Summary" field for Summary. "Map field value" must be checked
...
Choose the "Checklists" custom field.
...
:
CSV Field | Jira field | Map field value | ||||||||||||
|---|---|---|---|---|---|---|---|---|---|---|---|---|---|---|
Summary
| Summary |
| ||||||||||||
Custom field (Checklists) | Checklists |
| ||||||||||||
…map other fields if needed | ||||||||||||||
| Panel | ||
|---|---|---|
| ||
☝🏼 NOTE: Do NOT Check "Map field value" for the Checklists custom field, otherwise the importer will break field formatting and the add-on will not be able to properly render checklist values. |
...
Do the last check before the import or Validate mapping:
...
Your data should be imported. Check success message from where you can navigate to the item's
...
listing:
...
And see imported issues 🎉
...
Go to Issue View and check how Smart Checklist will render imported values
...
Hope everything works for you! 🚀
Examples:
...
| Info |
|---|
For any questions or feature requests contact us: smartchecklist@railsware.com |