| Insert excerpt | ||||||||
|---|---|---|---|---|---|---|---|---|
|
| Panel | ||||||||
|---|---|---|---|---|---|---|---|---|
| ||||||||
| Info | ||||||||
If you use Jira permissions:grant users Edit Issues or Administer Projects permissionsto create and save templates |
| Panel | ||||||||
|---|---|---|---|---|---|---|---|---|
| ||||||||
| Info | ||||||||
If you use Smart Checklist permissions: grant users Manage Smart Checklist Items or Add Smart Checklist Items permissionsto create and save templates |
...
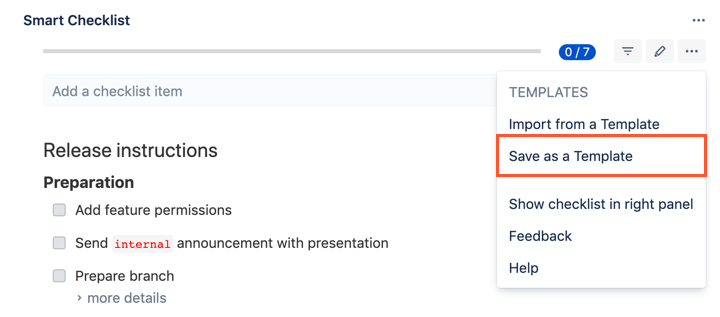
Create a proper checklist using an input box or Full-Screen Editor available by clicking the "pen" icon.
Then go to the Smart Checklist menu and click the "Save as a Template" menu item.
Name your Template and click "Save".
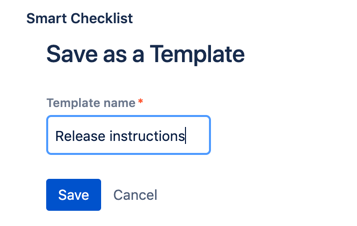
The checklist is saved in Jira Project Properties ✅
| Panel | |
|---|---|
| |
| |
☝🏼 NOTE: Smart Checklist Templates are saved and stored per Project. You can share a template across different projects by making it Global, |
...