This option is available for users with System Admin permissions only
Smart Checklist allows setting the template as a default for all or selected issue types for all or selected projects.
Steps
Go To Manage Apps
Smart Checklist → Settings → Templates
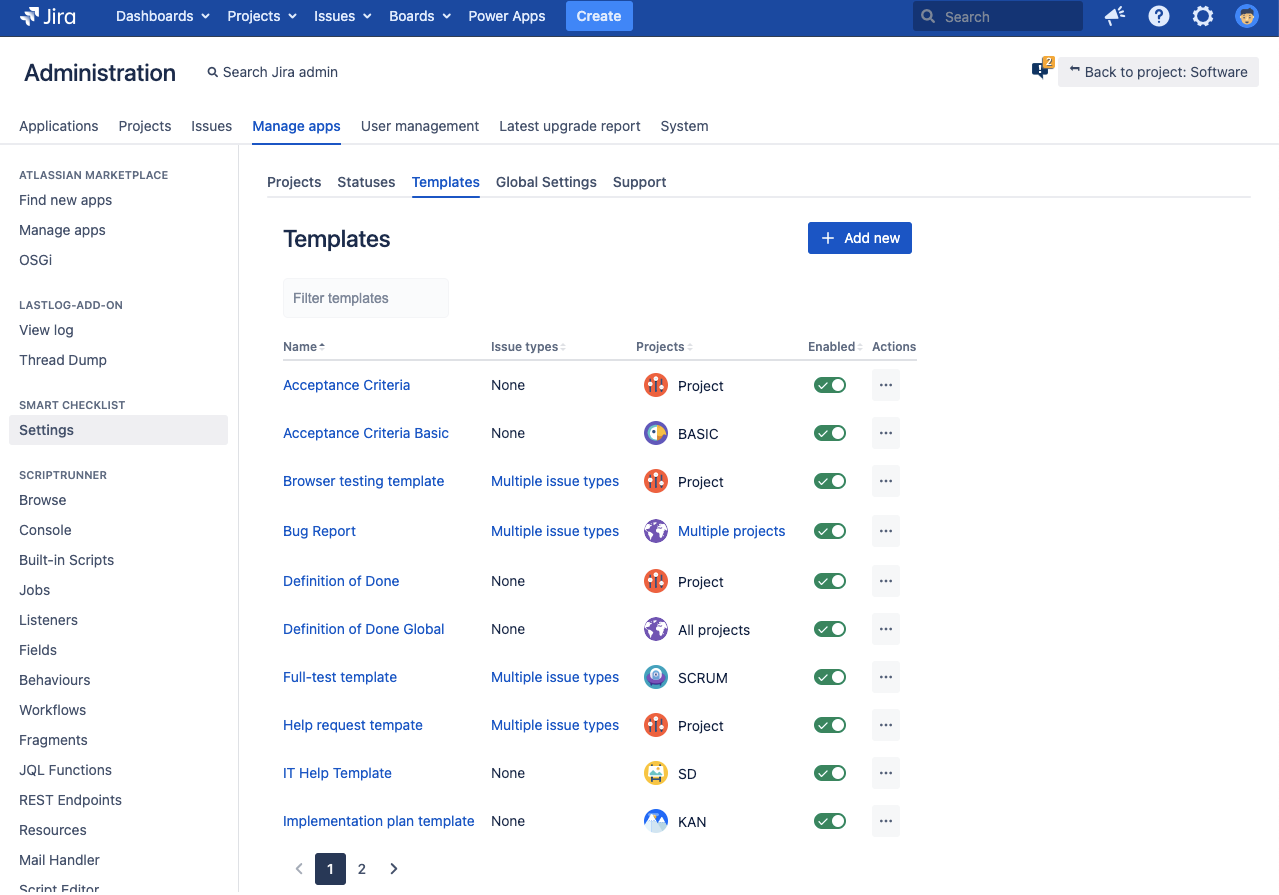
Click “Add New” or click on a Templates
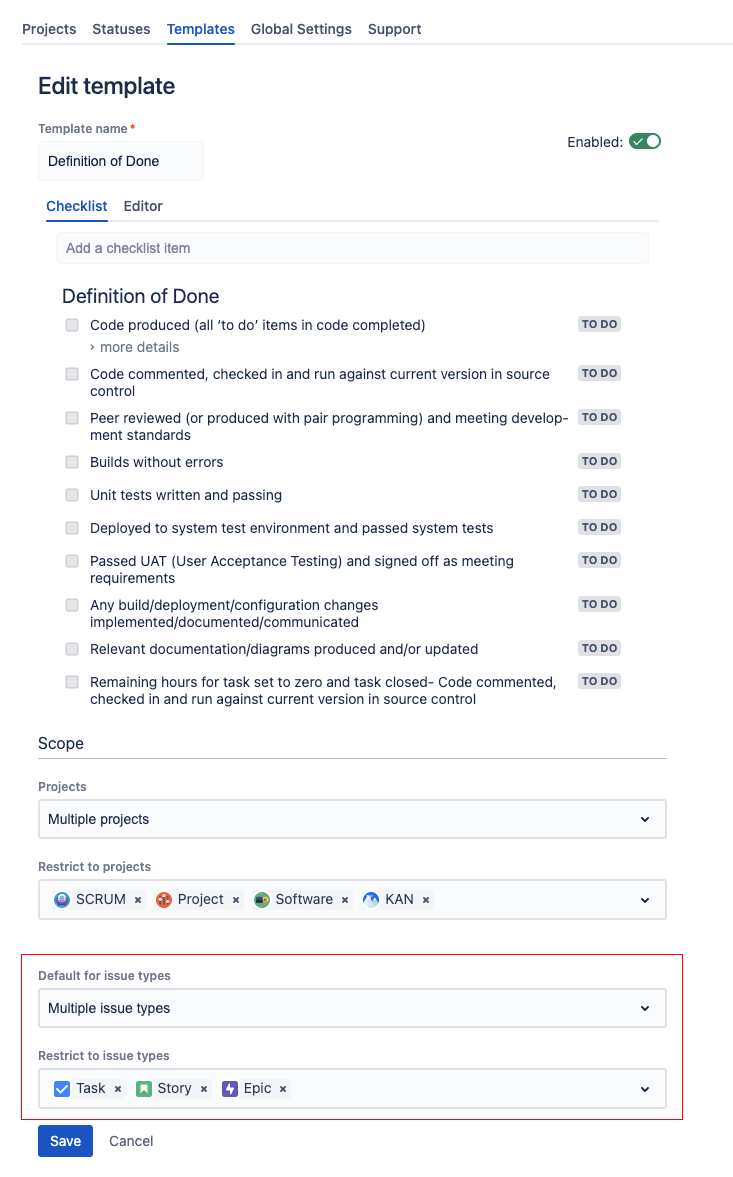
After you choose Projects - define the issue types you want to set these templates for.
Check Details below.
Save
Now, the template will automatically be applied for selected issue types of selected projects upon Jira issue creation
Template visibility Scope
You can define in which projects the template would be displayed and used.
Projects. Options:
All Projects(default) - Share template between all projectsSingle Project- Share template within selected project onlyMultiple Projects- Share template between selected projects
If “Projects” value set to Single Project - then the template is treated as “Project Template”. The Project Administrator will get the ability to edit and manage templates via “Manage Templates” popup under Jira Issue.
Read more:Manage project templates
Template default context
You can define if the checklist template will be applied automatically by default while new issue creation.
Default for Issue Types. Options
None(default) - no default template rules to be appliedMultiple issue types- apply a template as default for selected issue types. In the dropdown, you’ll see issue types available for your selected projects.
You can set several default templates per single issue types